
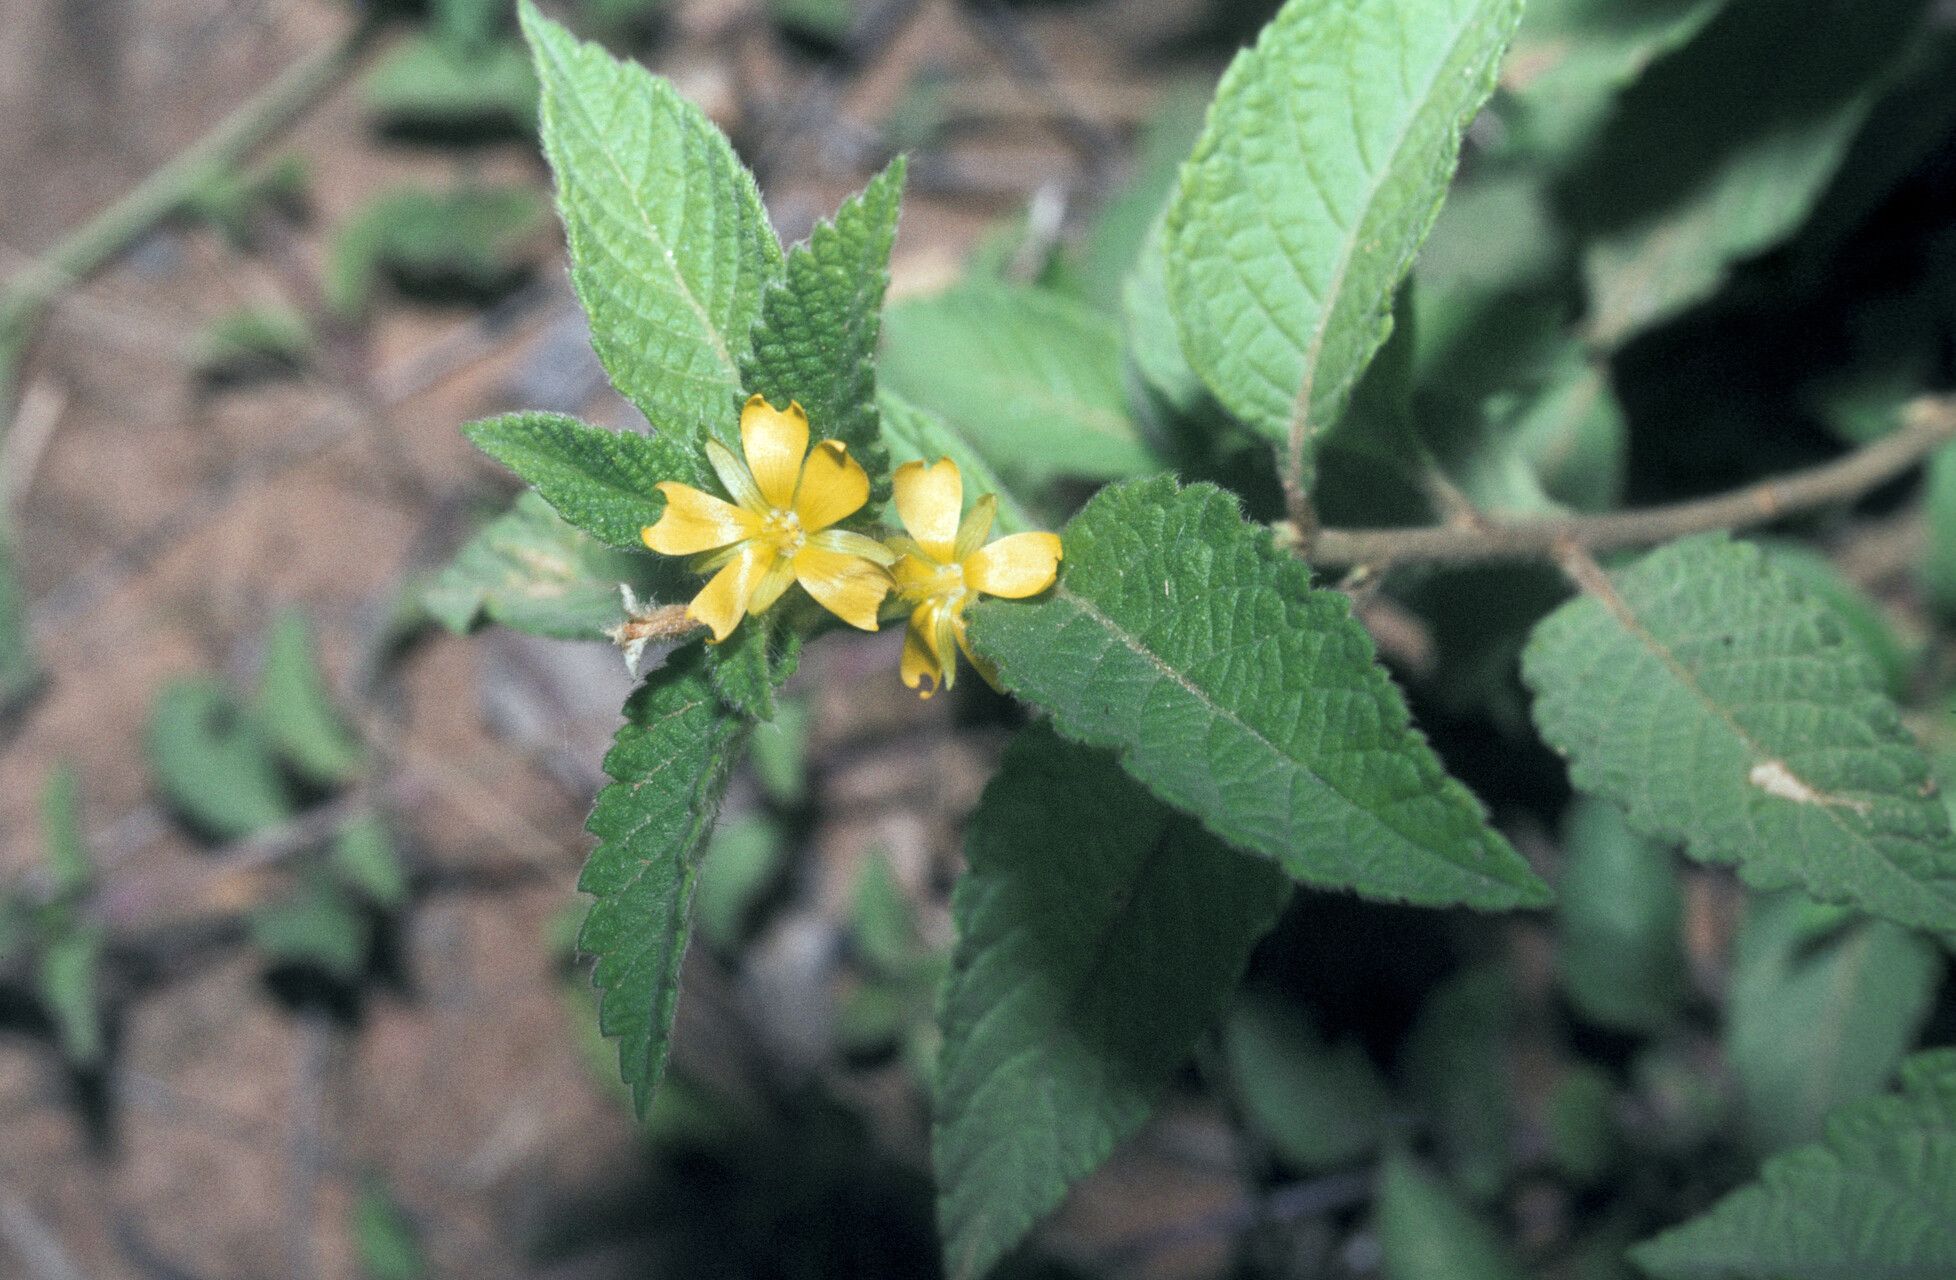
Sweet Success with Seeds and Cuttings: Your Guide to Propagating Turnera Odorata
The Turnera odorata, also known by its charming nickname “Yellow Alder”, is a delightful addition to any garden. Flourishing in warm climates and boasting cheerful yellow blooms, it’s no wonder gardeners are eager to expand their collection of this vibrant species. But how exactly do you propagate this sun-loving plant? Luckily, Turnera odorata offers not one, but two effective methods: seed propagation and propagation from cuttings. Let’s dive into both!
Seed Starting: Welcoming New Life from Tiny Packages
Propagating Turnera odorata from seed is a rewarding experience, allowing you to witness the entire life cycle of this fascinating plant. Here’s how to achieve seed-starting success:
- Harvesting Seeds: Collect ripe seed pods from existing plants. These pods tend to be brown and dry when ready. Gently break them open to reveal the small, brown seeds within.
- Preparing the Seedbed: Use a well-draining seed starting mix. Moisten the mix and fill small pots or seed trays, leaving a small space at the top.
- Sowing the Seeds: Place a few seeds on the surface of each pot or cell, and lightly press them into the soil. Don’t bury them too deep – a light covering is sufficient.
- Providing Optimal Conditions: Turnera odorata enjoys warmth and sunlight. Place your seed trays in a bright location, maintaining a temperature of around 70°F (21°C). Mist regularly to keep the soil consistently moist, but not waterlogged.
- Transplanting Time: In a few weeks, you’ll be greeted with tiny seedlings. Once they develop a couple of sets of true leaves, they’re strong enough to be transplanted into individual pots or directly into your garden.
Cuttings: Cloning Your Way to More Plants
For a faster propagation method and to ensure your new plants share the same characteristics as the parent plant, cuttings are the way to go! Follow these steps:
- Taking the Cuttings: Use a clean, sharp knife or pair of pruning shears to take cuttings about 4-6 inches long from healthy, actively growing stems. Make the cut just below a leaf node.
- Preparing the Cuttings: Remove the lower leaves from the cutting, leaving only a few at the top. You can dip the cut end in rooting hormone (although not strictly necessary, it can speed up the process).
- Planting the Cuttings: Fill small pots with a well-draining potting mix. Make a small hole in the center of each pot and gently insert the cutting. Gently firm the soil around the stem.
- Creating a Humid Environment: To encourage rooting, cover the pots with a clear plastic bag or use a humidity dome. This helps retain moisture and creates a mini greenhouse effect.
- Patience is Key: Place the cuttings in a bright location, but out of direct sunlight. Keep the soil consistently moist. In a few weeks, roots should start to develop. You can test this by gently tugging on the cutting – resistance means roots are forming!
- Transplanting: Once the cuttings have developed a strong root system, typically after 6-8 weeks, you can transplant them into larger pots or directly into your garden.
No matter which method you choose, propagating your own Turnera odorata is a fulfilling experience. With a little patience and care, you’ll be rewarded with a flourishing collection of these cheerful yellow blooms, adding a touch of sunshine to your garden for years to come!