Unveiling the Secrets of Propagating the Chilean Guava (Ugni candollei)
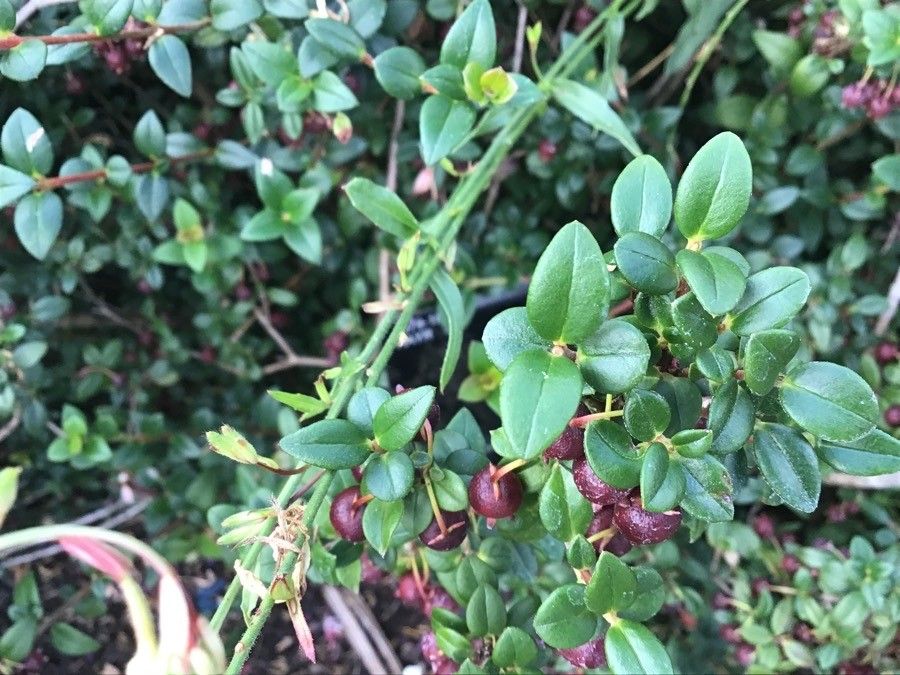
The Chilean Guava, also known as the Myrtus ugni or simply Ugni, is a charming evergreen shrub cherished for its glossy foliage, delicate bell-shaped flowers, and uniquely flavored, small edible berries. Native to the rainforests of Chile and Argentina, this plant, while relatively unknown to some, has recently gained popularity amongst home gardeners seeking unique and rewarding additions to their gardens. If you’re enchanted by this intriguing fruit-bearing beauty and wish to expand your collection, propagating Ugni candollei is a satisfying and achievable endeavor. This article delves into the secrets of successfully propagating this fascinating plant.
Understanding the Propagation Methods
Two primary methods yield successful results for propagating Ugni candollei:
Seed Propagation: This method offers a rewarding experience, although it requires patience as plants grown from seeds take longer to mature and bear fruit.
- Semi-hardwood Cuttings: A faster and often more reliable method for producing fruit-bearing plants sooner.
Propagating Ugni candollei from Seed
(a) Seed Collection and Preparation: Harvest ripe berries in late summer or early fall. Gently crush the berries and extract the small, hard seeds. Rinse the seeds thoroughly to remove any remaining pulp, as this can inhibit germination.
(b) Sowing the Seeds: Prepare a well-draining seed starting mix and sow the seeds about ¼ – ½ inch deep in seed trays or small pots. Mist the soil gently and maintain a warm temperature around 65-75°F (18-24°C).
(c) Germination and Early Care: Be patient. Germination can take anywhere from a few weeks to several months. Provide consistent moisture but avoid overwatering. Once the seedlings develop a few sets of true leaves, they can be carefully transplanted into individual pots.
Propagating Ugni candollei from Semi-hardwood Cuttings
(a) Timing is Key: The optimal time for taking semi-hardwood cuttings is in late spring or early summer when new growth has begun to harden slightly.
(b) Selecting and Preparing Cuttings: Choose healthy, non-flowering shoots about 4-6 inches long. Make a clean cut just below a leaf node using a sharp, sterilized knife or pruning shears. Remove the lower leaves, leaving only a few at the top.
(c) Promoting Root Development: Dip the cut end of the cuttings in rooting hormone powder to encourage quicker and more successful rooting. Plant the cuttings in a well-draining rooting mix, burying at least two nodes below the surface.
(d) Creating a Humid Environment: Cover the cuttings with a clear plastic bag or humidity dome to maintain moisture and humidity. This will help prevent the cuttings from drying out.
(e) Patience and Aftercare: Keep the cuttings in a warm, bright location, out of direct sunlight. Rooting typically takes 6-8 weeks. Once the roots have established, the cuttings can be gradually acclimated to normal conditions and eventually transplanted into larger pots or outdoors.
Tips for Success:
- Ugni candollei thrives in slightly acidic soil. Amending your potting mix with peat moss or ericaceous compost can be beneficial.
- Good drainage is crucial to prevent root rot.
- While Ugni candollei appreciates some shade, providing adequate sunlight will enhance fruiting.
- Regular pruning helps maintain a desirable shape and encourages bushier growth.
Propagating your own Ugni candollei is a rewarding endeavor that allows you to expand your garden with this unique and flavorful species. Whether you choose to embark on the journey from seed or opt for the faster route of semi-hardwood cuttings, with patience and proper care, you’ll soon be enjoying the fruits (quite literally) of your labor!