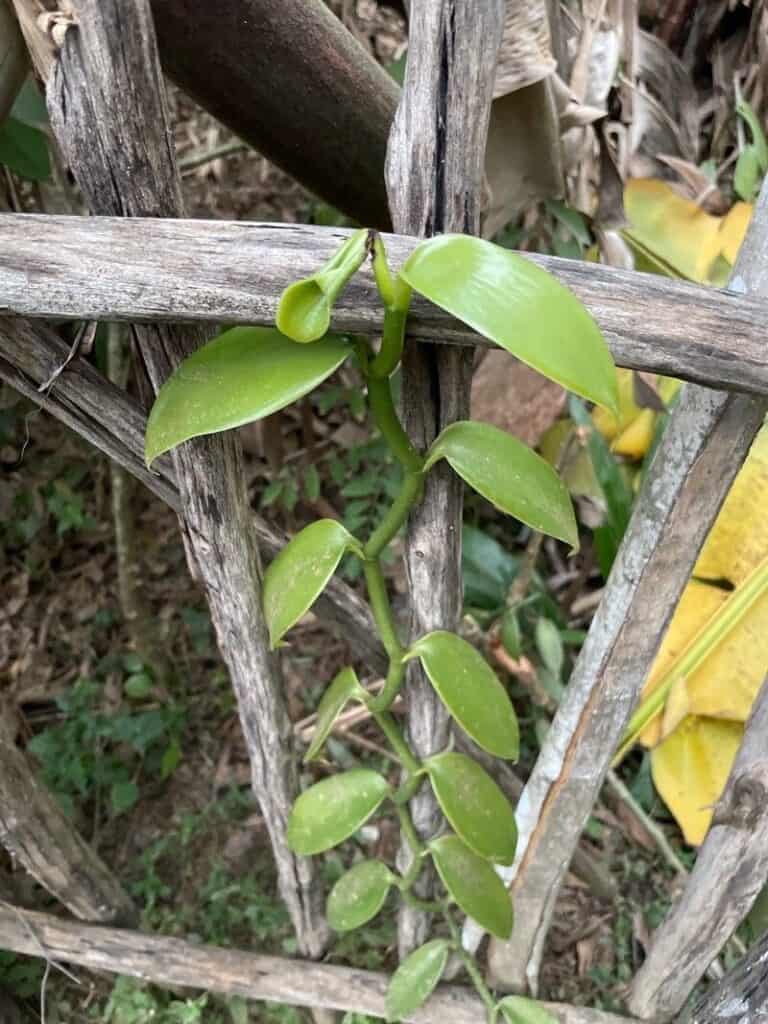
Unlocking the Secrets of Vanilla: How to Propagate Madagascar’s Aromatic Treasure
Vanilla, that intoxicating flavor and aroma we associate with sweet treats and creamy delights, actually comes from a beautiful, climbing orchid: Vanilla planifolia, also known as Vanilla madagascariensis. Native to Madagascar, this orchid requires patience and care to thrive, but successfully propagating your own vanilla plant is a rewarding experience for any plant enthusiast.
Understanding Vanilla Propagation
Vanilla orchids are typically propagated through stem cuttings, a method that takes advantage of the plant’s ability to grow roots from nodes along its vine. While it’s possible to grow vanilla from seed, it’s an incredibly difficult and time-consuming process usually left to professional growers.
Step-by-Step Guide to Propagating Vanilla from Cuttings
-
Obtain a healthy cutting: The key to successful propagation lies in starting with a healthy cutting. Look for a vine segment at least 12 inches long, with several nodes and healthy, green leaves. Ideally, source your cutting from a reputable grower to ensure disease-free material.
-
Prepare the cutting: Using a sterilized knife or pruning shears, make clean cuts just below a node at the bottom and above a node at the top of your desired cutting. Remove any leaves from the bottom third of the cutting to prevent them from rotting in the planting medium.
-
Choose your propagation method: You have two options for rooting your vanilla cutting:
-
Water propagation: Submerge the bottom portion of the cutting in a glass or jar of clean water, ensuring no leaves are submerged. Change the water every few days to prevent stagnation. Roots should appear within a few weeks.
- Direct planting: Fill a pot with a well-draining, airy orchid potting mix. Make a small indentation in the mix and gently bury the bottom nodes of your cutting. Keep the soil consistently moist but not soggy.
-
-
Provide optimal growing conditions: Vanilla orchids thrive in warm, humid environments with indirect sunlight. Place your cutting in a spot that receives bright, filtered light and maintain temperatures between 70-85°F (21-29°C). To increase humidity, mist the cutting regularly or place the pot on a humidity tray filled with water and pebbles.
- Patience is key: Rooting can take anywhere from a few weeks to a few months. Once your cutting has developed a strong root system (at least 2-3 inches long for water propagation), you can transplant it into a larger pot filled with orchid mix.
Caring for your Vanilla Orchid
Once established, your vanilla orchid will need a sturdy support like a moss pole or trellis to climb. Continue to provide it with the same warm, humid conditions and indirect light. Fertilize regularly with a balanced orchid fertilizer diluted to half strength.
The Long Road to Vanilla Beans
Propagating your own vanilla is just the first step. It takes 3-4 years for a vanilla orchid to mature and produce the fragrant beans we all love. Additionally, vanilla orchids require hand-pollination to produce beans, a fascinating process you can learn more about as your plant matures.
The Rewards of Patience
While growing vanilla requires dedication and a green thumb, the satisfaction of nurturing this exotic orchid and potentially harvesting your very own vanilla beans is a truly rewarding experience. So, why not embark on this fragrant journey and unlock the secrets of cultivating Madagascar’s aromatic treasure?
