Unlocking the Secrets of Varronia bullata: A Propagation Guide for Beginners
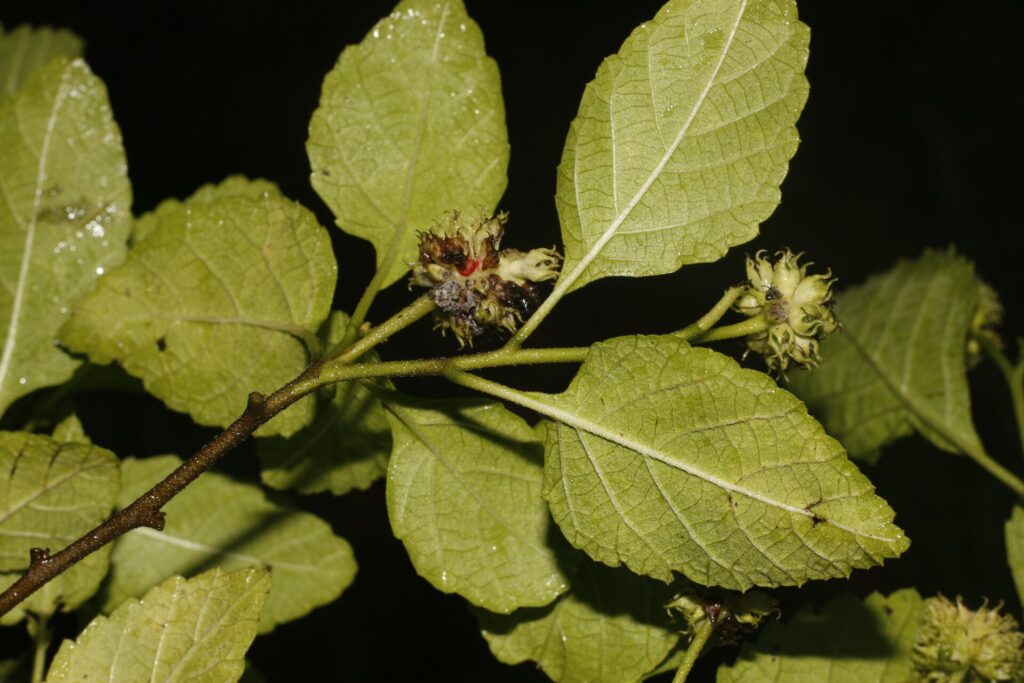
Varronia bullata, also known as the fragrant sage or black sage, is a stunning flowering shrub native to the southeastern United States. Beloved for its silvery-green leaves, intoxicatingly fragrant white blooms, and ability to attract pollinators, this tough plant deserves a spot in any sun-drenched garden. While readily available in nurseries, propagating your own Varronia bullata can be an incredibly rewarding experience. Let’s dive into the various ways to multiply this botanical gem.
Seeds: A Test of Patience and Timing
Propagating Varronia bullata from seed can be a bit tricky, but it’s certainly achievable with the right approach. The key lies in collecting ripe seeds at the opportune moment. Look for seed capsules that have turned brown and papery on the plant. Carefully extract the tiny, brown seeds within.
Here’s how to sow them:
- Cold Stratification: Mimic nature’s cycle by placing the seeds in a damp paper towel inside a sealed plastic bag. Store them in the refrigerator for 4-6 weeks to break their dormancy.
- Sowing: Fill seed trays with a well-draining seed starting mix. Sow the seeds on the surface and lightly press them in.
- Moisture and Light: Mist the soil regularly, ensuring it remains consistently moist but not soggy. Place the tray in a bright location, out of direct sunlight.
- Patience: Germination can be erratic and may take several weeks. Be patient and continue providing moisture and indirect light.
Cuttings: A Faster Path to Success
For more predictable and faster results, propagating Varronia bullata from cuttings is the preferred method. Here’s what you need to do:
- Timing is Key: Take cuttings in late spring or early summer when the plant is actively growing.
- Selecting Cuttings: Choose healthy, non-flowering stems that are about 4-6 inches long.
- Prepare the Cuttings: Remove the lower leaves from the cutting, leaving only a few leaves at the top.
- Rooting Hormone (Optional): Dipping the cut end in rooting hormone can encourage faster root development, but it’s not entirely necessary.
- Planting: Stick the cuttings in a pot filled with a well-draining potting mix.
- Humidity Dome: Cover the pot with a clear plastic bag or humidity dome to create a warm, moist environment that promotes rooting.
- Location: Place the pot in a bright location, out of direct sunlight.
- Patience: Rooting can take 4-8 weeks. Once you see new growth, it’s a sign that roots have likely formed.
Layering: Letting Nature Do the Work
Layering is a less commonly used, albeit effective, method for propagating Varronia bullata. This technique encourages roots to form on a stem while it’s still attached to the parent plant. Here’s how it’s done:
- Choose a Branch: Select a low-growing, flexible branch.
- Wound and Prepare: Gently wound the branch by making a small cut or scrape on the underside. Apply rooting hormone to the wounded area (optional).
- Bury the Branch: Bend the wounded portion of the branch down and bury it in the soil. Use a rock or landscape staple to keep it in place.
- Water and Patience: Keep the soil consistently moist and wait patiently. Rooting can take several months. Once the branch has developed roots, you can separate it from the parent plant.
A Rewarding Undertaking
Whether you choose to try your hand at seeds, cuttings, or layering, propagating your own Varronia bullata is a rewarding experience. With a little patience and the right knowledge, you’ll be well on your way to enjoying even more of this fragrant and beautiful plant in your garden.