From Snip to Thriving: Easy Propagation of Brooklime (Veronica beccabunga)
Do you crave the vibrant green foliage and lovely blue flowers of the Brooklime (Veronica beccabunga) in your garden, but find yourself deterred by the cost of purchasing plants? Fear not, for this versatile and resilient water-loving herb is a breeze to propagate! This article will guide you through the simple steps to grow your own Brooklime from cuttings, allowing you to enjoy its beauty and culinary delights.
Why Propagation is the Way to Go
Brooklime can be easily propagated through stem cuttings, making it an excellent choice for aspiring gardeners or anyone looking to expand their existing collection. Propagation from cuttings is not only economical but also rewarding, allowing you to watch your own “baby” Brooklimes grow into flourishing plants.
Step-by-Step Propagation Guide:
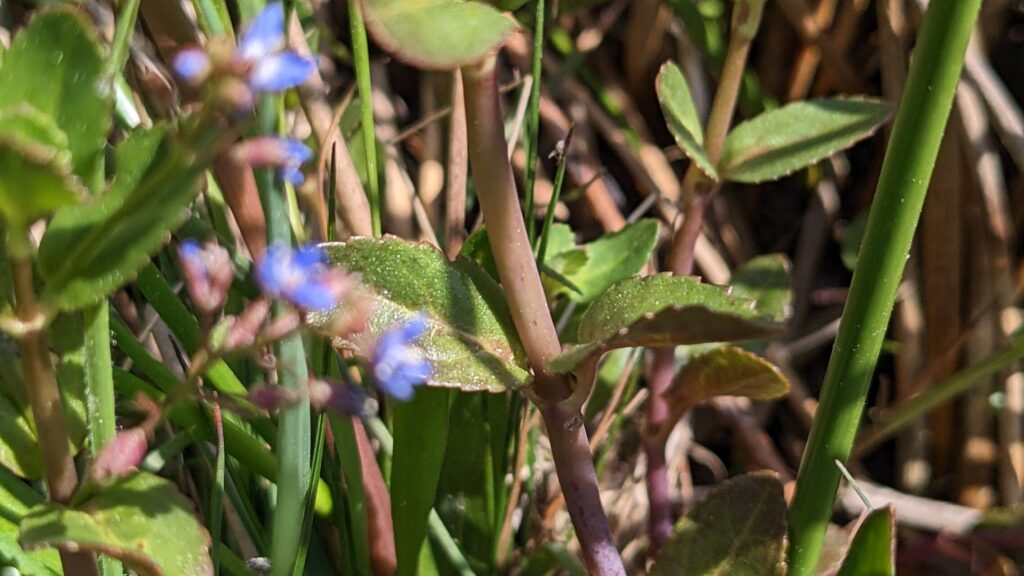
1. Selecting Your Cuttings:
- Choose healthy, non-flowering stems from your existing Brooklime plant.
- Aim for cuttings that are around 4-6 inches long, with at least two sets of leaves.
- Make a clean cut just below a node, where the leaves are attached.
2. Preparing Your Cuttings:
- Remove the lower leaves on your cutting, leaving the top two or three sets.
- Dip the cut end of the stem in rooting hormone powder (optional but helpful).
- This extra boost can encourage faster and stronger root growth.
3. Planting Your Cuttings:
- Fill a small pot or seedling tray with a well-draining potting mix.
- Make a small hole in the mix for each cutting and gently insert it, ensuring the lower leaves are above the soil line.
- Water thoroughly to settle the soil around the cutting.
4. Creating the Ideal Environment:
- Place your cuttings in a bright, but indirect, location. Avoid direct sunlight, which can stress your young plants.
- Maintain consistent moisture in the potting mix by watering regularly, but avoid overwatering.
- A plastic dome or a humidity tray can help keep the cuttings from drying out too quickly, especially in dry climates.
5. Patience and Success:
- Brooklime cuttings typically root in 2-4 weeks, forming strong roots that anchor them in the soil.
- Regularly check for new growth, a sign of successful rooting and a healthy plant.
- Once your cuttings have established a good root system, acclimatize them to outdoor conditions gradually before planting them in their final location.
6. Selecting Your Planting Site:
- Brooklime thrives in moist, shady conditions, making it an ideal addition to ponds, bog gardens, and even rain gardens.
- It also tolerates partial sun, but avoid planting it in full sun, which can dry out the soil.
- Ensure the planting area has free-draining soil to prevent waterlogging, which can harm the plant.
Conclusion:
Propagating Brooklime from cuttings offers a rewarding and inexpensive way to grow and enjoy this beautiful and beneficial herb. By following these simple steps, you can create a thriving Brooklime patch, enriching your garden and providing a vibrant source of edible greenery. Remember to keep the soil moist, provide shade, and watch with anticipation as your cuttings bloom into luscious, leafy plants. Enjoy the bounty of Brooklime, from its decorative qualities to its delicious culinary uses!