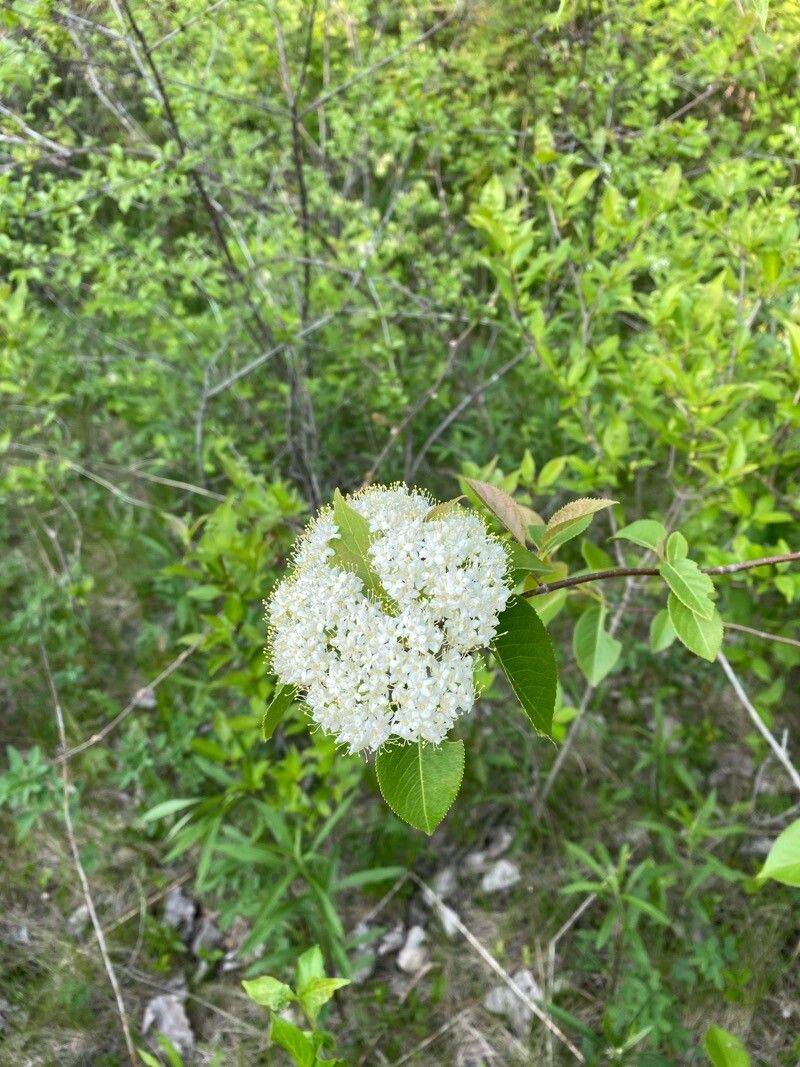
Grow Your Own Nannyberry Haven: Propagating Viburnum Lentago
Viburnum lentago, more charmingly known as nannyberry, sheepberry, or sweet viburnum, is a North American native shrub prized for its beautiful foliage, fragrant spring flowers, and edible berry clusters. If you’re looking to expand your garden’s charm with this resilient and attractive species, propagation is easier than you might think! Let’s explore the different methods to successfully grow your own nannyberry haven.
Method 1: Starting from Seed
While a bit more time-consuming, propagating nannyberry from seed can be a rewarding experience. Here’s how:
Seed Collection: Collect ripe berries in late summer or early fall. The berries should be plump and dark blue to almost black.
Seed Cleaning: Extract the seeds from the fleshy fruit. A helpful trick is to crush the berries in a bowl of water; the seeds will sink to the bottom.
Cold Stratification: Nannyberry seeds need a period of cold treatment to germinate. Place the cleaned seeds in a moist paper towel inside a sealed plastic bag, and store them in the refrigerator (around 40°F) for 90-120 days.
Sowing: In spring, sow the stratified seeds in seed trays filled with a good-draining seed-starting mix. Plant them about ¼ inch deep and keep the soil consistently moist.
- Transplanting: After the seedlings have developed a strong root system and are a few inches tall, transplant them to larger individual pots or directly into your garden.
Method 2: Taking Softwood Cuttings
For a faster approach, softwood cuttings offer a higher success rate:
Timing is Key: Take cuttings during the early growing season, ideally in late spring or early summer, when new growth is pliable.
Cutting Selection: Choose healthy, non-flowering stems that are about 4-6 inches long. Make a clean cut just below a leaf node.
Prepare the Cuttings: Remove the lower leaves from the cutting, leaving only a few leaves at the top. Dip the cut end in rooting hormone powder to encourage root development.
Potting: Plant the cuttings in pots filled with a well-draining potting mix. Keep the soil consistently moist but avoid overwatering.
- Rooting and Transplanting: It might take several weeks for roots to develop. Once the cuttings show signs of new growth, you can transplant them into larger pots or directly into your garden.
Method 3: Layering
Layering is a simple and effective way to propagate nannyberry, especially if you already have an established plant:
Branch Selection: Choose a low-growing, flexible branch in spring.
Wounding: Gently wound the underside of the branch by making a small cut or scraping off a bit of bark.
Bury the Wound: Bend the wounded portion of the branch down and bury it a few inches deep in the soil, using a rock or landscape pin to hold it in place.
Rooting: Keep the soil consistently moist. Roots should develop from the wounded area within a few months.
- Separation: Once the layered branch has developed a strong root system, carefully separate it from the parent plant and transplant it to its desired location.
Nannyberry Care for Successful Propagation
No matter your chosen propagation method, providing proper care is crucial:
Sunlight: Nannyberry tolerates partial shade but thrives in full sun to part shade locations.
Soil: Ensure well-drained soil with a slightly acidic to neutral pH.
Water: Keep the soil consistently moist, especially during the first year after planting or transplanting.
- Fertilizer: Apply a balanced, slow-release fertilizer in the spring.
With a little patience and care, propagating your own Viburnum lentago can be a rewarding experience, enhancing your garden with its natural beauty and charm for years to come.