Unleash a Violet Avalanche: Propagating the Siberian Violet (Viola altaica)
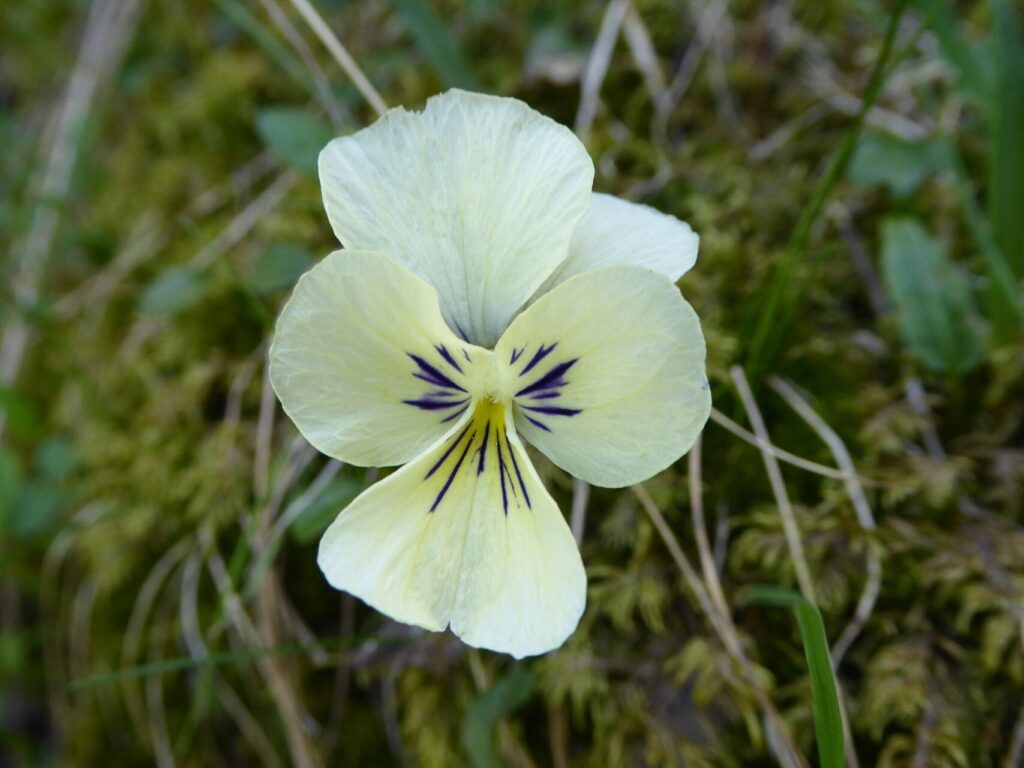
The Siberian Violet (Viola altaica), with its delicate purple blooms, is a captivating addition to any garden. But did you know that you can easily multiply these beauties and create a vibrant tapestry of color with just a few cuttings? In this blog post, we’ll explore the fascinating world of propagating Viola altaica, revealing how this simple technique can allow you to enjoy even more of these enchanting flowers.
The Magic of Propagation
Propagation, essentially making copies of plants, is a rewarding and cost-effective way to expand your garden’s beauty. For Viola altaica, you have two primary options: seed propagation and vegetative propagation, each offering distinct advantages.
1. Seed Propagation: A New Generation of Violets
Collecting seeds from your existing Viola altaica is a great way to enjoy a fresh batch of these vibrant blooms. The process is simple:
- Collect Seeds: Once the vibrant flowers fade, they’ll reveal seed capsules, typically brown and slightly elongated. Allow them to mature fully until they start to split.
- Sow the Seeds: Sow the seeds directly in a well-prepared seed tray or pot using a seed-starting mix. Ensure the soil is slightly moist.
- Germination Magic: Germination can take a few weeks, so be patient as you watch your little violet seedlings emerge.
- Embrace the Sunlight: Provide bright but indirect sunlight to encourage healthy growth. Once your seedlings have a couple of true leaves, you can transplant them to your garden or larger pots.
2. Vegetative Propagation: Quick and Easy Clones
Vegetative propagation involves taking a part of an existing plant and encouraging it to develop its own root system. For Viola altaica, this technique is incredibly efficient, allowing you to create new plants quickly and retain the parent plant’s characteristics.
a. Leaf Cutting:
- Choose Well: Select healthy, mature leaves from your Viola altaica plant.
- Get Cutting: Use a sharp knife or scissors to make a clean cut at the base of the leaf, near the stem.
- Prep for Growth: Dip the cut end in rooting hormone powder to encourage root development.
- Potting It Up: Place the leaf cutting in a pot filled with a well-draining potting mix. Mist the leaf regularly to maintain moisture.
- Root Development: Within a few weeks, tiny roots will emerge, signaling your success! Once the roots are established, you can transplant your new plant into your garden or a larger pot.
b. Stem Cutting:
- Select Strong Stems: Choose a healthy stem with a few leaves.
- Cut It Right: Use clean pruning shears to make a cut just below a node (where the leaves grow from).
- Dip in Magic: Apply rooting hormone powder to the cut end.
- Planting Time: Plant the stem in a well-draining potting mix, ensuring that at least one node is below the soil surface.
- Growth Spurt: Keep the soil moist. Within a few weeks, new roots will be established, and you’ll have a new Viola altaica plant ready to thrive.
General Tips for Success
- Timing is Key: The best time to propagate Viola altaica is during the spring or early summer when the plant is actively growing.
- Soil Matters: Use a well-draining potting mix that retains moisture but prevents waterlogging.
- Patience is a Virtue: Propagation takes time. Be patient and give your new plants the right conditions to root and flourish.
By mastering the art of propagation, you can enjoy a vibrant symphony of purple blooms in your garden for years to come. So, embrace the magic of Viola altaica and let its beauty multiply through your own gardening efforts!