From One Violet to Many: Propagating the Rare and Delightful Viola flettii
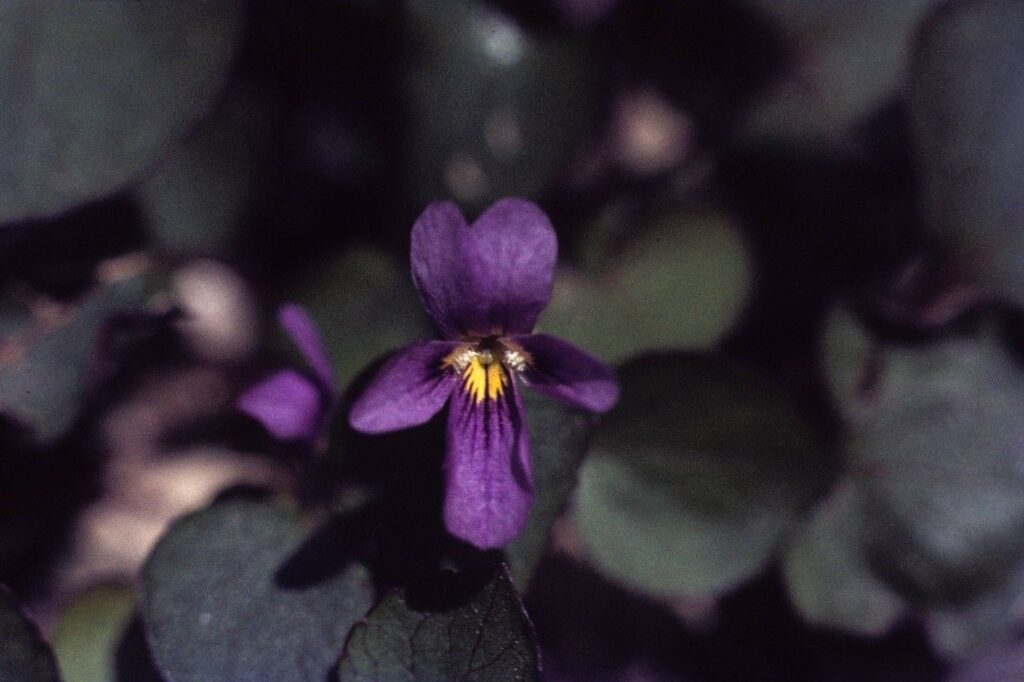
Viola flettii, also known as the Flett’s Violet, is a treasure for any garden enthusiast. This rare and enchanting wildflower, native to the Pacific Northwest, boasts delicate purple blossoms that add a touch of elegance to woodland settings. But the beauty of Viola flettii extends beyond its blooms – it’s wonderfully easy to propagate, allowing you to share its charm with others or expand its presence in your own garden.
Embracing the Simplicity of Seed Propagation
The most common and successful way to propagate Viola flettii is through seed. These tiny seeds are best sown directly in the garden, mimicking their natural environment. Here’s how to make the most of this method:
-
Timing is Key: Fall is the ideal time to sow Viola flettii seeds. The cool, moist conditions help them germinate.
-
Prep the Ground: Prepare a well-drained, slightly acidic soil bed for optimal germination. Lightly mix in some compost to enrich the soil and enhance drainage.
-
Direct Sowing: Scatter the seeds thinly over the prepared soil, ensuring they have ample spacing as they grow. Avoid burying them deep; a light sprinkle of soil is sufficient.
-
The Waiting Game: Patience is key. Germination can take several weeks, sometimes even a few months, depending on the weather conditions.
- Protecting the Younglings: Keep the soil consistently moist but not waterlogged. A thin layer of mulch helps maintain moisture and suppress weeds.
Unveiling the Magic of Cuttings
For a more immediate gratification, you can try propagating Viola flettii using stem cuttings. This technique involves taking portions of existing plants and encouraging them to develop roots:
-
Selecting Healthy Cuttings: Choose non-flowering stems from vigorous, healthy plants. Each cutting should be about 4-6 inches long, with at least two sets of leaves.
-
Trimming and Preparing: Remove the lower leaves from the cutting and gently cut the stem at a 45-degree angle, just below a leaf node.
-
Rooting Medium Magic: A mix of peat moss and perlite or vermiculite is an excellent choice for rooting cuttings. This mixture provides the ideal balance of moisture retention and aeration.
-
The Art of Planting: Insert the prepared cuttings into the rooting medium, ensuring the bottom node is buried. Gently firm the medium around the cutting.
-
Boosting Root Development: Cover the container with a clear plastic dome or bag to create a humid environment. Keep the medium moist but not soggy.
- Patience Yields Success: Within a few weeks, you should see signs of root development. Once the cuttings are established, they can be transplanted into individual pots or directly into the garden.
Sharing the Beauty of Viola flettii
Viola flettii is a beautiful and captivating addition to any garden, and its ease of propagation makes it an ideal choice for sharing with fellow plant enthusiasts or expanding your own collection. Whether you choose seed sowing or stem cuttings, you’ll be rewarded with the satisfaction of witnessing these lovely wildflowers thrive under your care. So, get ready to discover the magic of propagating Viola flettii and share its unique beauty with the world!