Unlocking the Secrets of Vriesea vagans Propagation: Bringing More Blooms to Life
Vriesea vagans, with its striking red bracts and sword-like leaves, is a captivating member of the bromeliad family. But what if you could share that beauty with more than just one plant?
This blog post reveals the secrets to propagating Vriesea vagans, allowing you to effortlessly grow new plants from your existing one. Buckle up, plant enthusiasts!
Understanding Vriesea vagans Propagation
Vriesea vagans is a bromeliad that can be successfully propagated through two primary methods: offsetting and seed germination. Let’s explore each method in detail.
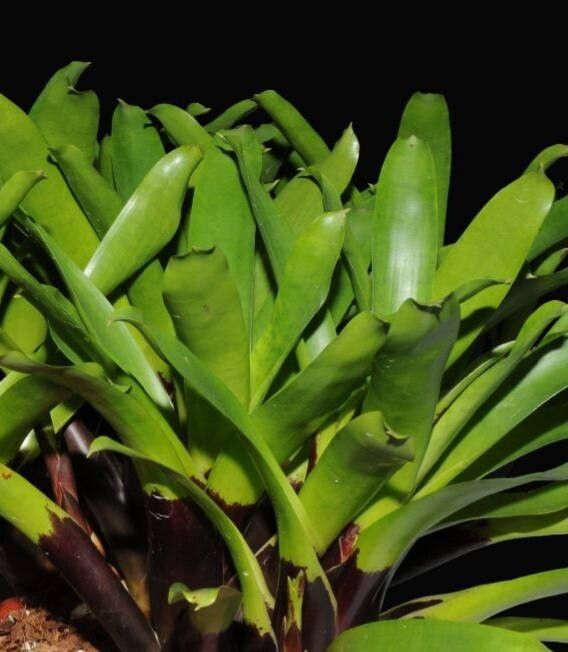
Offsetting: The Easier Route
Offsetting, also called “pupping,” is the most common and straightforward method. It involves taking advantage of the plant’s natural ability to produce baby plants (offsets) at the base.
Here’s a step-by-step guide:
- Identify Offsets: Look for small, miniature versions of the mother plant growing at the base of the Vriesea vagans. These offsets should have their own root system and at least a few leaves.
- Preparation: Choose offsets that are relatively mature and around 2-3 inches tall. Carefully separate them from the parent plant using a sharp sterilized knife or pair of scissors.
- Potting: Prepare a small pot with well-draining potting mix. Plant the offset, ensuring the base sits just above the soil level.
- Watering and Care: Water the offset generously, but allow the soil to dry slightly between waterings. Provide indirect sunlight and humidity similar to the parent plant.
Seed Germination: A Longer Journey
While offsetting is faster, growing a Vriesea vagans from seed is a more challenging yet rewarding method.
Here’s the process:
- Gathering Seeds: After the Vriesea vagans flowers fade, you’ll find tiny seeds within the bract. Collect these carefully.
- Sowing: Prepare a seed tray filled with a sterilized seed-starting mix. Sow the seeds thinly on the surface and lightly press them into the soil. Mist with water to keep the soil moist.
- Environment: Create a humid environment by covering the seed tray with clear plastic wrap. Place it in a warm, bright location but out of direct sunlight.
- Patience: Germination can take anywhere from 4 to 8 weeks. After your seedlings develop two or three true leaves, you can start transplanting them individually into small pots.
Important Tips for Success
Regardless of the propagation method used, ensuring optimal conditions for Vriesea vagans is key:
- Warmth: Vriesea vagans thrives in warm temperatures above 60 degrees Fahrenheit.
- Humidity: Provide a humid environment by misting the plant regularly or using a humidifier.
- Indirect Light: Avoid direct sunlight, which can burn the leaves.
- Well-Draining Soil: Use a potting mix that drains well to prevent root rot.
Sharing the Beauty of Vriesea vagans
By following these propagation tips, you can expand your Vriesea vagans collection and share its breathtaking beauty with others. Whether you choose the easier offsetting method or take on the challenge of seed germination, the journey of nurturing a new plant is truly rewarding!