Taming the Golden Penda: A Guide to Propagating Xanthostemon pubescens
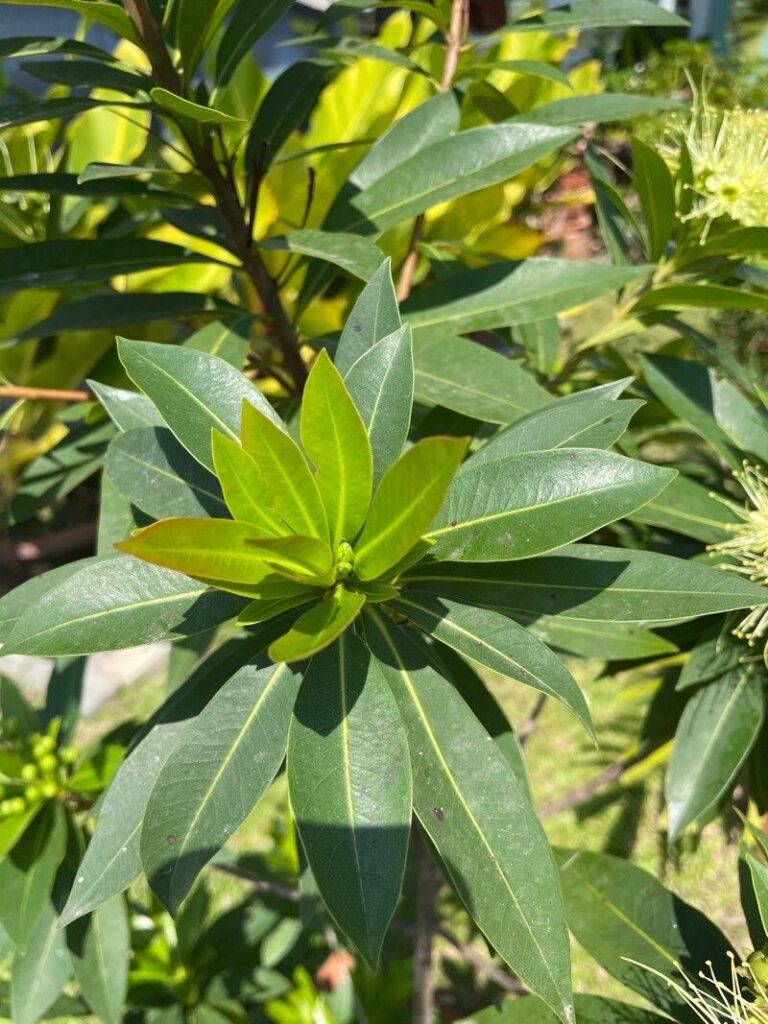
The Golden Penda (Xanthostemon pubescens) with its fiery blossoms and lush foliage is a showstopper in any garden. Native to Australia, this evergreen beauty can be a rewarding addition to your tropical-themed landscape. But have you ever considered growing your own Golden Penda? While slightly challenging, propagating this species at home is achievable with the right knowledge and a bit of patience.
There are two primary methods for propagating Xanthostemon pubescens:
1. Seed Propagation: A Test of Patience
Propagating Golden Penda from seed is a rewarding, albeit lengthy process. Fresh seeds germinate best, so try sourcing them directly from ripe fruit capsules, or from a reputable supplier.
Here’s a step-by-step guide:
- Seed Collection & Preparation: Collect mature, brown seed capsules from an established plant. Allow the capsules to dry completely then gently crush them to release the tiny seeds.
- Sowing: Prepare a seedling tray with a well-draining seed raising mix. Sprinkle the seeds on the surface and lightly cover them with a thin layer of mix.
- Watering: Mist the soil surface regularly, ensuring consistent moisture without waterlogging.
- Warmth & Light: Place the tray in a warm, bright location, out of direct sunlight. A seedling heat mat can be beneficial, maintaining a temperature of around 25°C (77°F).
- Germination: Be patient! Seed germination can take anywhere from a few weeks to several months. Once the seedlings have developed a few sets of true leaves, they can be carefully transplanted into individual pots.
2. Cutting Propagation: The Faster Route
Taking cuttings is a quicker method, allowing you to clone the characteristics of a specific Golden Penda. Choose healthy, semi-hardwood cuttings during the active growing season (spring-summer).
Here’s how:
- Cutting Selection and Preparation: Select healthy stems about 10-15cm long with at least 3-4 nodes. Make a clean cut just below a node using sterilized pruning shears. Remove the leaves from the lower portion of the cutting.
- Hormone Treatment (Optional): Dipping the base of the cutting in rooting hormone can encourage faster root development.
- Planting the Cutting: Use a well-draining potting mix, and create a small hole for each cutting. Gently insert the cuttings, ensuring at least one node is buried.
- Humidity & Warmth: Maintain high humidity by placing a clear plastic bag or dome over the cuttings. Place the pot in a warm, bright location, out of direct sunlight.
- Root Development: Roots should develop within 4-8 weeks. Once new growth emerges, it indicates successful rooting. You can then transplant the rooted cuttings into individual pots.
Tips for Success:
- Golden Penda prefers a slightly acidic to neutral soil pH.
- Use well-draining soil to prevent root rot.
- Provide consistent moisture, particularly during the establishment phase.
- Fertilize regularly during the growing season with a balanced fertilizer.
- Golden Penda thrives in warm climates and may require protection from frost.
Propagating your own Golden Penda might seem daunting at first, but with a little effort and patience, you can enjoy the reward of seeing these captivating blooms grace your own backyard. So, why not roll up your sleeves and give it a try? You might just discover a newfound love for propagating this Australian native.