Taming the Xylosma: A Guide to Propagating This Hardy Evergreen
Xylosma flexuosa, also known as the shiny xylosma, is a versatile evergreen shrub prized for its glossy foliage, interesting branching structure, and ability to thrive in challenging conditions. This tough cookie is native to arid regions, making it a fantastic drought-tolerant choice for xeriscaping and low-water gardens. While readily available at nurseries, why not multiply your Xylosma collection and impress your gardening friends by propagating your own?
Don’t worry, it’s not as daunting as it sounds! Let’s explore the two most effective methods:
Method 1: Propagation from Cuttings
This method involves taking a cutting from an established Xylosma and encouraging it to develop roots. Here’s a breakdown:
1. Timing is Key:
The best time to take cuttings is during the active growing season, typically in late spring or early summer. This is when the plant is bursting with energy and hormones that promote root development.
2. Selecting the Right Cuttings:
- Look for healthy, non-flowering shoots that are firm and not woody.
- Using clean, sharp pruning shears, take cuttings about 4-6 inches long.
- Make a clean cut just below a node (the point where a leaf attaches to the stem).
3. Prepping the Cuttings:
- Remove the leaves from the lower half of the cutting. This prevents them from rotting in the soil.
- To further encourage rooting, you can dip the cut end in rooting hormone powder (optional but helpful).
4. Planting and Patience:
- Prepare a pot with well-draining potting mix. You can mix equal parts of peat moss, perlite, and vermiculite for best results.
- Make a small hole in the mix with a pencil and gently insert the cutting. Firm the soil around it.
- Water thoroughly and place the pot in a warm, bright location out of direct sunlight.
- Maintain consistent moisture by misting regularly or covering the pot with a clear plastic bag to create a humid environment.
5. Transplanting Success:
- It can take several weeks for roots to develop. You can gently tug on the cutting to check. If you feel resistance, roots are forming!
- Once well-rooted, transplant the new Xylosma seedlings into individual pots or your desired garden location.
Method 2: Propagation from Seed
While slightly less common due to a longer timeframe, propagating from seed allows you to experience the full life cycle of your Xylosma.
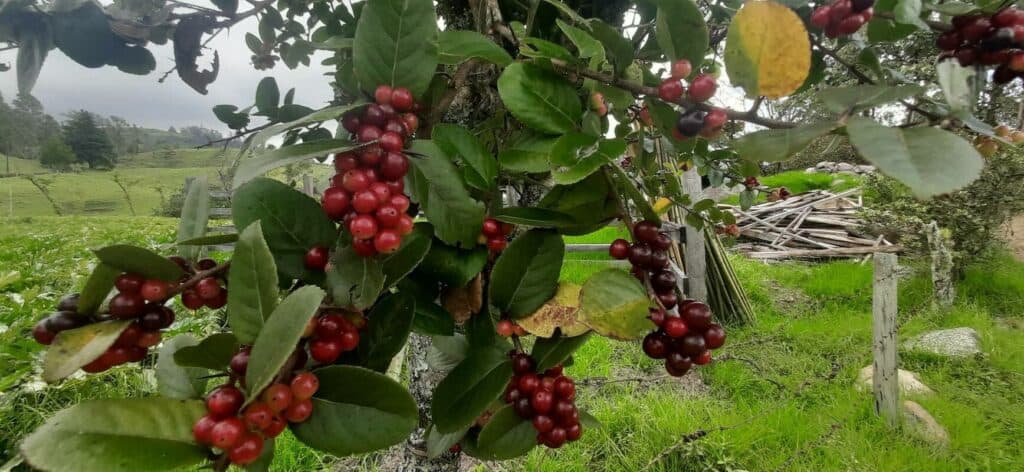
1. Source Your Seeds:
- Collect ripe berries from an existing Xylosma plant. Allow them to dry thoroughly.
- Alternatively, purchase Xylosma seeds from reputable online or local nurseries.
2. The Soak and Sow:
- Soak the seeds in lukewarm water for 24 hours before planting to soften the seed coat and improve germination rates.
- Plant the seeds in a seed-starting mix, covering them lightly with soil.
- Water gently and keep the soil consistently moist.
3. Patience is a Virtue:
- Germination can take several weeks or even months, so don’t despair if you don’t see sprouts right away.
- Once the seedlings emerge and have a few sets of true leaves, you can transplant them into larger containers or your garden bed.
Tips for Success:
- Well-draining soil is crucial for Xylosma, whether propagating from cuttings or seeds.
- Bright, indirect light is ideal for young plants to prevent scorching.
- Be patient! Propagation takes time, so don’t be discouraged if you don’t see results immediately.
With a little effort and the right approach, you can successfully propagate Xylosma flexuosa and enjoy the rewarding experience of witnessing new life flourish in your garden.