Unveiling the Secrets of Xylosma Peltata Propagation: Grow Your Own Spiny Beauty
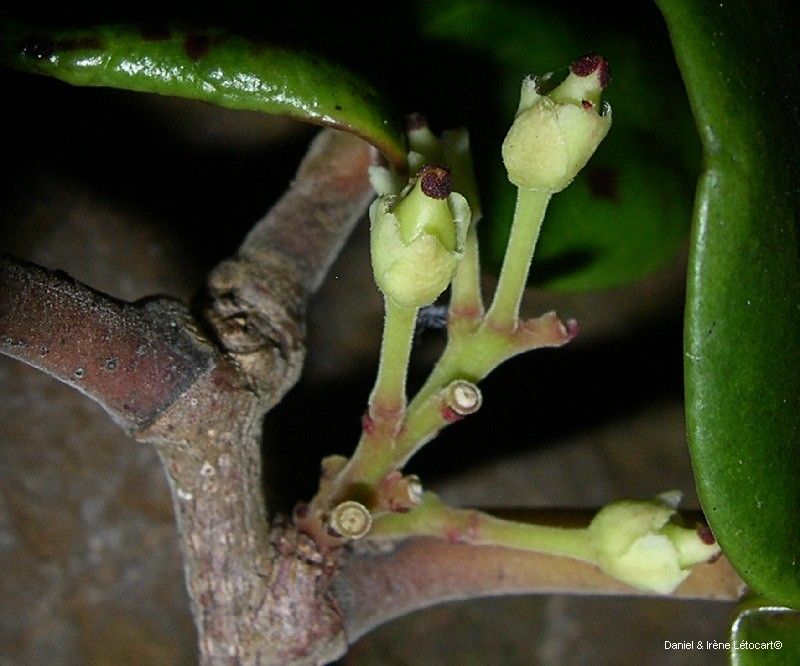
Xylosma peltata, the shiny-leaved evergreen shrub known for its vibrant foliage and intriguing spiny branches, is a fantastic addition to gardens seeking a touch of the exotic. Native to Australia, this hardy plant is surprisingly adaptable and easy to care for. But did you know that propagating your own Xylosma peltata is entirely achievable, even for beginner gardeners? Let’s dive into the world of Xylosma propagation and unlock the secrets to expanding your leafy haven.
Two Paths to Propagation:
Xylosma peltata offers two primary methods of propagation:
-
Seed Propagation: While possible, propagating from seed is less common and can be a bit more unpredictable. Xylosma seeds require a period of stratification (cold treatment) to encourage germination. If you’re feeling adventurous, you can try cold-stratifying the seeds in your refrigerator for a few weeks before sowing in a well-draining seed-starting mix. Be patient, as germination can be slow and inconsistent.
- Cutting Propagation: This method is favored for its higher success rate and faster results. It involves taking cuttings from a healthy Xylosma plant and encouraging them to develop roots, creating a clone of the parent plant.
Mastering the Art of Cutting Propagation:
Here’s a step-by-step guide to successfully propagating Xylosma peltata from cuttings:
-
Timing is Key: The optimal time to take cuttings is during the active growing season, ideally in late spring or early summer.
-
Selecting the Perfect Cuttings: Choose healthy, non-flowering stems that are about 4-6 inches long. Look for stems with new growth, as they tend to root more easily.
-
Preparing the Cuttings: Using sharp, sterilized pruning shears, make a clean cut just below a leaf node (the point where a leaf emerges from the stem). Remove the leaves from the bottom third of the cutting.
-
Encouraging Root Development: To boost your chances of success, dip the cut end of the stem in rooting hormone powder. This helps stimulate root growth.
-
Planting the Cuttings: Fill small pots or seed trays with a well-draining potting mix. Create a hole with your finger or a pencil and gently insert the cutting, ensuring the bottom third is buried.
-
Creating a Humid Environment: Cover the pots or trays with a clear plastic bag or humidity dome to trap moisture and create a mini greenhouse effect. Place the cuttings in a warm, well-lit location, but avoid direct sunlight.
-
Patience is a Virtue: It typically takes 4-8 weeks for cuttings to develop roots. You can gently tug on the cutting to check for resistance, which indicates root formation.
- Transplanting Your Success: Once roots are established, carefully transplant the cuttings into larger pots or directly into your garden bed amended with well-draining soil.
Tips for Success:
- Maintain consistent moisture in the potting mix, but avoid overwatering, which can lead to rot.
- Ensure good air circulation around the cuttings to prevent fungal diseases.
- Gradually acclimate the rooted cuttings to outdoor conditions before transplanting them permanently.
Propagating your own Xylosma peltata is a rewarding experience that allows you to expand your garden with these unique and beautiful plants. With a bit of patience and the right techniques, you’ll soon be enjoying a flourishing collection of these spiny beauties. So why not roll up your sleeves, grab your gardening gloves, and give Xylosma propagation a try?