Tickling the Senses, Sprouting the Spice: Propagating Prickly Ash (Zanthoxylum americanum)
The Prickly Ash, also known as the Toothache Tree (Zanthoxylum americanum), is a fascinating native North American plant with a legacy steeped in both culinary and medicinal uses. While its name might sound intimidating, propagating this aromatic wonder can be a rewarding experience. This guide will walk you through the different methods to successfully grow your own Prickly Ash, adding a unique touch to your garden and spice cabinet.
Understanding the Prickly Ash
Before we dive into propagation, let’s get acquainted with this intriguing plant. Prickly Ash is a deciduous shrub or small tree, typically growing 10-20 feet tall. It’s easily identified by its:
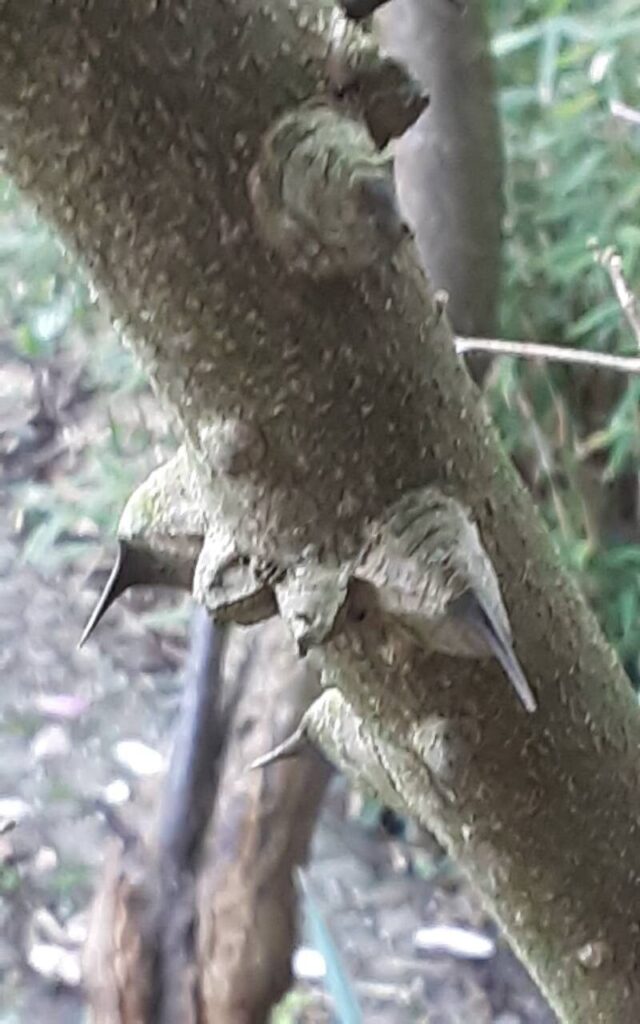
- Prickly bark: Sharp, corky projections cover the stems and branches, hence its name.
- Compound leaves: Each leaf consists of several leaflets arranged in pairs, releasing a citrusy fragrance when crushed.
- Small, greenish-yellow flowers: These appear in clusters in spring, leading to clusters of small, dark berries.
Prickly Ash is a dioecious plant, meaning you need both male and female plants to produce berries.
Propagation Methods
While Prickly Ash can be a bit finicky to start from seed, don’t let that discourage you! Here are the most common propagation techniques:
1. Seed Propagation:
- Collection: Collect ripe berries in late summer or early fall. Remove the seeds and clean off any pulp.
- Stratification: Seeds require a period of cold stratification to germinate. Store them in moist sand or peat moss in the refrigerator for 60-90 days.
- Sowing: In spring, sow the stratified seeds in a well-drained seed-starting mix. Cover lightly with soil and keep consistently moist.
- Germination: Be patient! Germination can take several weeks to a few months.
2. Root Cuttings:
- Timing: Take root cuttings in late fall or early spring when the plant is dormant.
- Preparation: Carefully dig around the base of a mature plant and look for thick, healthy roots. Cut sections about 3-4 inches long.
- Planting: Plant the root cuttings horizontally in a tray filled with a mix of sand and peat moss.
- Growth: Keep the cuttings moist and warm. They should begin to sprout new shoots in a few weeks.
3. Suckering:
- Identification: Look for small shoots emerging from the ground near the base of an established Prickly Ash.
- Separation: Carefully dig around the sucker, ensuring it has a good root system attached.
- Potting: Plant the separated sucker in a pot with well-drained soil.
Care for Your Prickly Ash
- Sunlight: Choose a location with full sun to partial shade.
- Soil: Well-drained soil is crucial to prevent root rot.
- Watering: Water regularly, especially during dry spells, but avoid overwatering.
- Fertilizer: A balanced fertilizer can be applied in spring to encourage healthy growth.
Reap the Rewards
Once established, Prickly Ash requires minimal care. You can harvest the bark and berries for their unique flavor and medicinal properties. A word of caution, however, the bark and berries contain prickly compounds, so harvesting and handling with gloves is recommended.
Propagating Prickly Ash might seem challenging, but with patience and the right approach, you can enjoy the unique characteristics of this tree for years to come. Whether you’re drawn to its zesty aroma, intrigued by its historical significance, or simply seeking a challenging gardening project, Prickly Ash is a plant worth exploring.