Let’s Multiply Your Phlox Power!
Hey garden friends! Are you ready to learn how to give your gorgeous perennial phlox a little love AND get more of these beauties for your garden? Today, we’re diving into the simple yet incredibly rewarding process of dividing your phlox – also known as Phlox paniculata, garden phlox, tall phlox, or, as some folks mistakenly call them, “flocks flowers.” (Don’t worry; we all make those little slips!)
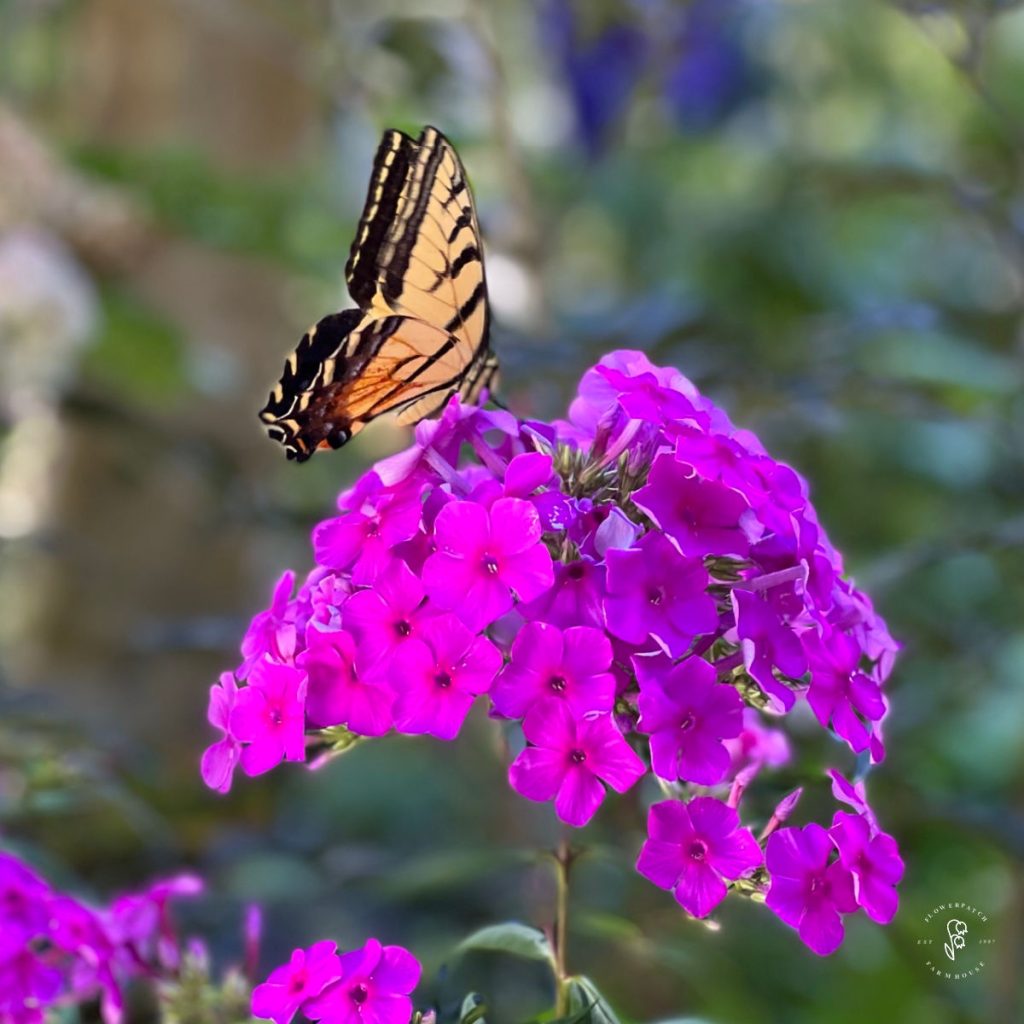
Perennial phlox, with their show-stopping clusters of color and easy-going personalities, are a must-have in any garden, especially those charming cottage gardens.
But here’s the thing: sometimes, our phlox patches get a little too cozy. This crowding can lead to fewer blooms and a less vigorous plant. Booo!
But don’t worry, there’s a simple fix! Dividing and transplanting your phlox is like giving them a spa day! It rejuvenates the plant, encourages more blooms, and best of all…
You get FREE phlox plants!
Ready to boost your phlox power? Let’s get started!
What We’ll Cover:
- When to Divide: Timing is key for happy plants!
- Gather Your Gear: The tools you’ll need to make the job easy.
- Prime Planting Spots: Where will your new phlox divisions thrive?
- The Gentle Dig: How to unearth your phlox without upsetting them.
- Divide and Conquer: Separating your phlox into healthy new plants.
- Welcome Home! Replanting your phlox for a fresh start.
- Love and Care: Keeping your phlox happy and blooming all season.
- Pro Tips for extra credit: Setting you up for success!
Timing is Everything! ⏰
When it comes to dividing perennials, timing can make all the difference. For garden phlox, you can split your clumps in late summer to early fall or in the spring when the weather is cool.
The ideal time depends on where you live! Aim to divide about 6 weeks before the ground freezes so your new plants have time to establish roots.
Autumn Tip: If dividing in the fall, give your phlox a little haircut! Cut the plant back to about 6 inches to make handling easier.
Tools of the Trade ️
Here’s your phlox dividing toolkit:
- A sturdy shovel or spade: For digging the plant out of the ground.
- A garden fork (optional): To help loosen the soil around the roots.
- Pruning shears: For trimming any damaged roots or stems.
- Watering can or hose: For hydrating your plants.
- Compost (if necessary): To enrich the soil in their new home.
- Mulch: To help retain moisture and suppress weeds.
Location, Location, Location!
To give your new phlox divisions the best start, choose a spot with:
- Well-draining soil: Phlox don’t like soggy feet!
- Partial to full sunlight: They LOVE to soak up the sun!
- Enriched Soil: If your soil is poor, add some organic matter like compost or well-rotted manure to create a loose earth!
- Plant friends: Plant phlox by plants with similar likes. Then again, I am a rebel and plant just wherever I want.
Digging Deeper (Gently!) ⛏️
Now for the fun part! Dig around the base of your phlox with your spade, a few inches away from the main stems.
Pro Tip: Some gardeners use a garden fork to gently loosen the soil and lift the plant. I do this with my shovel!
Or… slice down into a portion of the mother plant base. As a general rule, I usually remove a 4-inch section.
Hot Tip: All your plants, old or new, will do fine with this transplanting. You can do the same with most herbaceous perennials!
Divide and Conquer! ✂️
Time to separate the root ball into sections! Each section should have:
- Healthy roots: The key to a thriving plant.
- Multiple shoots or stems: Ready to grow and bloom!
Trim any damaged or unhealthy parts using your pruning shears (in spring it will be shoots emerging from the ground and in fall it will be stems). Get rid of dead bits and you’ll be set!
Replanting Your Phlox
Now, let’s get those phlox divisions back in the ground!
- Position them at the right depth: Make sure the point where the roots meet the plant base is level with the surrounding soil.
- Fill the hole: Gently firm the soil.
- Water thoroughly: This hydrates the plant and settles the soil
As an extra boost, giving them a 30 minute soak in Organic REV will go far in mitigating transplant shock and get them off to their best start.
Loving the Long Haul
To keep your phlox thriving, remember these tips:
- Water regularly: Especially during dry spells.
- Mulch it! Apply a layer of organic mulch around the base of the plants, keeping it a few inches away from the stems.
Pro Tips for Phlox Success!
- Watch and water: Keep an eye on your transplants and make sure they get enough water, but don’t drown them!
- Fertilize? I rely on the compost as a slow-release feed and don’t bother with starter fertilizers or anything added at planting time. If you feel you need to fertilize, then I recommend either of these two products:
- Agrothrive General Purpose
- Organic REv liquid fertility
- Deadhead for more blooms! Remove faded flowers to encourage new growth. When removing the fading flowers cut back to a new set of buds which will be evident typically a bit lower down the stem.
- Shield from weather: If you have very hot weather, offer temporary shade with garden fabric or lightweight cloth.
Now Go Forth and Divide!
Tall phlox are some of my favorite fall-blooming plants, so because they bloom later, I especially love planting them in areas with a lot of early spring bloomers as it extends the colorful season of the perennial garden!
With just one parent plant, you can end up with a number of plants to enjoy.
Now that you know how to divide perennial phlox, you can not only revitalize your beautiful garden phlox but also extend your healthy, thriving garden for no cost!
Want to give your extra plants to your loved ones? Why not gift them to friends?
Want to learn about phlox subulata, read here. Happy gardening!