Hey there, fellow plant lover! Let’s chat about turning your favorite petunias into even MORE petunias – all without breaking the bank! We’re diving into the wonderful world of growing petunias from cuttings, the easiest way to fill your pots, beds, and hanging baskets with these gorgeous blooms.
Why grow petunias from cuttings, you ask? Well, maybe like me your favorite garden centers aren’t as budget-friendly as they used to be. Or perhaps you’ve got a petunia with a color or bloom that just steals your heart, and you want to clone it! Whatever your reason, taking cuttings is a super rewarding way to expand your petunia collection.
Plus, starting from cuttings is a fun way to get growing even when seed starting isn’t going your way, which happened to me this year. No problem, there’s more than one way to grow petunias!
Heads up: This post contains affiliate links, which means if you click through and make a purchase, I may earn a small commission. Thanks for supporting my gardening habit!
Okay, so let’s get real. This isn’t a magic trick to getting instant, wow-factor plants. You’ll need a little patience, but trust me, the satisfaction of watching those little cuttings take root and bloom is totally worth it. Think of it as a slow-burn reward!
One of the best times to snip those cuttings is when you’re already giving your petunias a little trim mid-summer!
Fun fact: those amazing Supertunias from Proven Winners? Yep, they’re grown from cuttings!
Let’s Get Started!
First, you’ll need to prep some little pots with soil. I often recycle those six-pack containers, filling them with good potting mix and giving them a good watering. I’ve also used these super durable small pots from Amazon for over 10 years.
This time, I grabbed a six-pack container because it was handy!
Now, let’s choose our petunia superstar!
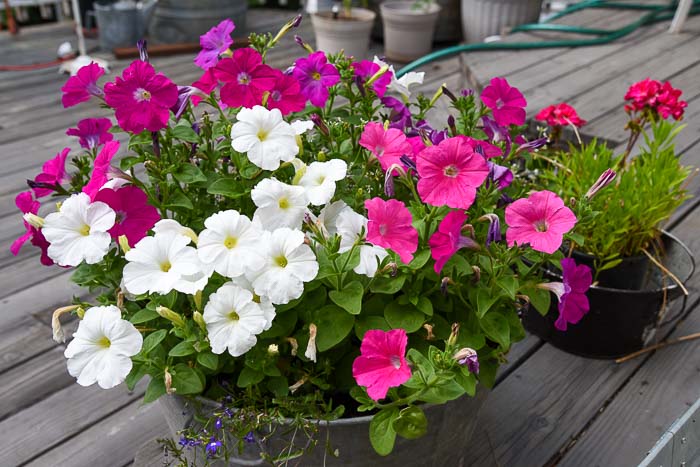
Here’s one of the beauties in my garden I’ll be taking cuttings from today. I found it in a 4-pack at Wal-Mart, which I got them in early April, potted them up to grow bigger and be ready for cuttings.
In the video at the end, you’ll see me propagate another one, too. So keep reading!
Choosing the Perfect Stem
Look for a stem that’s long enough – ideally, about 3-4 inches of cutting to tuck into the soil.
See the flower on this petunia? That’s the longest stem. As much as I hate to cut it off when it is so pretty, this one’s begging to be made into a new plant!
Just follow that stem down until you find a spot right below a leaf node (that’s where the leaves grow from the stem).
Snip, Snip!
Grab those bypass pruners (or your favorite cutting tool) and make a clean cut just below that leaf node.
Leaf-Trimming Time
Lay your cutting on a flat surface and gently remove those lower leaves and any little side shoots.
You can simply pinch them off with your fingernail, or use a sharp knife to carefully separate them from the stem.
I know, it looks a little sad now, but trust me, before you know it, this little guy will be bursting with new growth and gorgeous flowers.
Rooting Hormone: Yes or No?
Some gardeners skip rooting hormone altogether on petunias, but I like to dip the bottom end of my cuttings in rooting hormone, like this one.
( I think I will experiment with and without and get back to you soon!)
Pro Tip: Don’t dip your cuttings directly into a big container of rooting hormone. Pour a small amount into a separate container (like a small glass votive) to avoid spreading any potential plant diseases.
Tap off any excess hormone.
Planting Your Cutting
Now, grab a tool with a nice, rounded end (I often use a Sharpie marker because it’s the perfect size) and poke a hole in your prepared potting mix.
The wet soil will keep from caving in once you remove the sharpie.
Carefully slide your petunia cutting into the hole and gently press the soil around it, firming it up a bit.
I got 3 cuttings from 2 plants, I wanted to grab another petunia since these 2 were not that big yet.
Creating the Perfect Environment
Now, find a bright, cool spot for your cuttings.
I like to use these clear, domed lids over my planting trays to keep the humidity up and prevent the cuttings from drying out.
Some folks prefer misting systems, saying that these lids can encourage fungus and rot. But honestly, who has one of those setups at home?
These lids have always done the trick for me, plus they have ventilation. I’ve abused mine for over a decade.
Or, you can create your own DIY propagation box that works like a greenhouse.
While the greenhouse works great when it’s cool outside, it’s starting to get too hot, so I’ll move my cuttings to a table under my deck, where they’ll get bright light but escape the direct sun.
The Waiting Game
Keep an eye on your cuttings, and in about 3-4 weeks, you should start to see roots develop. Before you know it, you’ll have enough petunias to fill a tub or container, and your neighbors will be wondering what your secret is!
Fair Warning: Propagating plants can be addictive! You might find yourself wanting to clone everything in your garden!
Want even more tips and tricks for your home and garden? Sign up here to be informed for the latest updates that I share.
Happy Gardening!
Please feel free to PIN and share