How to Propagate Aa colombiana

Unlocking the Secrets of Aa colombiana Propagation: A Guide for Orchid Enthusiasts

The orchid world is brimming with fascinating and diverse species, each with its own captivating beauty. One such gem is Aa colombiana, a unique and rewarding orchid for both novice and experienced growers. Though its name might raise a chuckle, its resilience and stunning blooms are no laughing matter. This article dives deep into the various methods of propagating Aa colombiana, empowering you to expand your orchid collection and share the joy of this intriguing species.

Understanding Aa colombiana

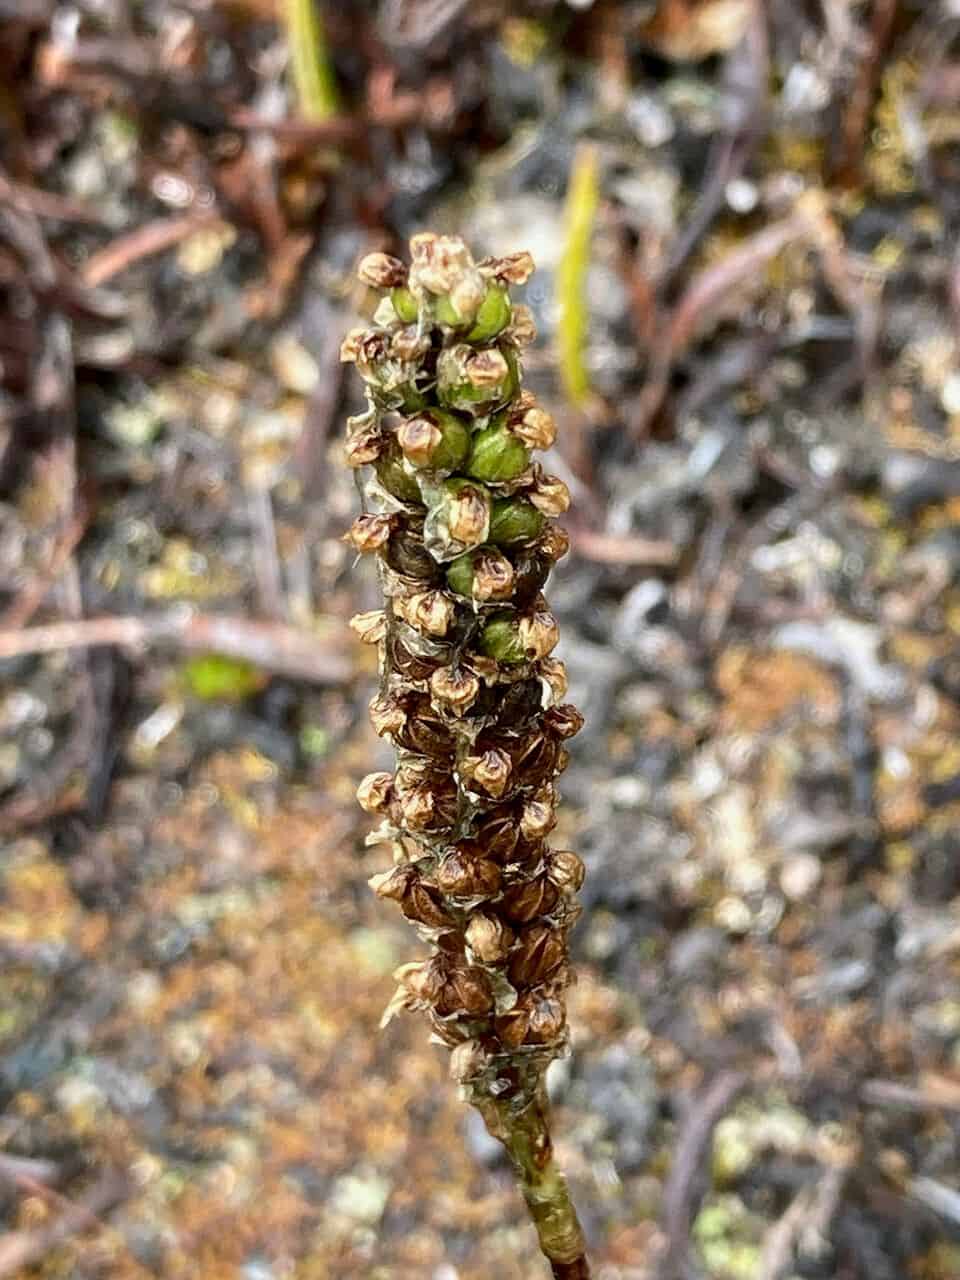
Native to the high-altitude regions of the Andes in Colombia and Ecuador, Aa colombiana is a terrestrial orchid, meaning it grows in soil rather than on trees like its epiphytic cousins. It thrives in cool, humid environments and boasts charming, albeit small, greenish-white flowers. Though not as showy as some orchids, its unique morphology and ease of care make it a captivating addition to any collection.

Propagation Methods

While Aa colombiana can be grown from seed, this process is quite challenging and best left to experienced growers. There are, however, two primary methods most hobbyists find successful:

1. Division: This is the most common and straightforward method for propagating Aa colombiana. Here’s how it’s done:

  • Timing: The best time for division is during spring or early summer, just as the plant begins its active growth period.
  • Preparation: Gently remove the plant from its pot and carefully remove any loose soil from around the roots. Using a sterilized, sharp knife or shears, divide the plant into sections. Each section should have at least 3-4 healthy pseudobulbs (the thickened, bulb-like stem segments) and a good root system.
  • Planting: Plant each division in a well-draining orchid mix formulated for terrestrial orchids. Ensure the pot has adequate drainage holes. Water thoroughly after planting.

2. Backbulbs: Aa colombiana produces new growth from older pseudobulbs, offering another propagation opportunity. Follow these steps:

  • Selection: Choose a healthy, mature pseudobulb that has finished blooming and may be showing signs of new growth at its base.
  • Removal: Carefully remove the selected pseudobulb from the main plant using sterilized tools.
  • Potting: Plant the backbulb in a small pot filled with a moist, well-draining orchid mix, ensuring the base of the bulb sits just below the soil surface.
  • Patience: It may take several weeks or even months for the backbulb to sprout new growth. Keep the potting mix lightly moist and maintain a warm, humid environment.

Caring for New Propagations

Newly propagated Aa colombiana require attentive care until they establish a strong root system. Here are some key tips:

  • Light: Provide bright, indirect light, similar to the conditions preferred by the parent plant.
  • Water: Water thoroughly when the potting mix approaches dryness. Avoid overwatering, which can lead to root rot.
  • Humidity: Maintain a humid environment around the plants by misting regularly or using a humidifier.
  • Fertilizer: Once new growth emerges, fertilize with a balanced orchid fertilizer diluted to half-strength every other week.

Propagating Aa colombiana is a rewarding endeavor that allows you to expand your collection and appreciate the unique lifecycle of this fascinating orchid. By following these guidelines and providing proper care, you’ll be well on your way to enjoying the beauty of this Andean gem for years to come.

Aa colombiana

Unveiling the Mystery: Propagating the Elusive Aa colombiana Orchid

The orchid world is a captivating one, filled with an astounding diversity of shapes, colors, and sizes. One particularly intriguing, albeit lesser-known, inhabitant of this fascinating world is the Aa colombiana orchid. This miniature marvel, with its delicate white blooms and unique name, is a captivating addition to any orchid enthusiast’s collection. But how do you go about propagating this enigmatic beauty?

Unlike many of its flamboyant cousins, Aa colombiana shies away from the spotlight and presents a unique propagation challenge. Gone are the easy options of dividing sprawling clumps or coaxing new shoots from readily available keikis. Instead, the successful propagation of Aa colombiana hinges largely on one method: seed propagation.

A Microscopic Endeavor: The Art of Orchid Seed Sowing

Orchid seeds are notoriously tiny, often resembling dust more than seeds. These miniature packets of genetic potential lack the typical food reserves found in larger seeds. This means that for successful germination, Aa colombiana seeds require a very specific environment and a little help from their fungal friends.

Step 1: Sourcing Seeds and Sterilization

The first hurdle in Aa colombiana propagation lies in acquiring viable seeds. Due to the plant’s rarity, commercially available seeds might be difficult to come by. Your best bet is to connect with specialized orchid nurseries or online communities dedicated to orchid cultivation.

Once obtained, meticulous sterilization is crucial. Orchid seeds are highly susceptible to contamination, so creating a sterile environment is paramount. This involves using a diluted bleach solution to sterilize all equipment and containers.

Step 2: The Flask: A Miniature Greenhouse

Orchid seeds thrive in a controlled, humid environment, which is where sterilized flasks or jars come in. Fill these containers with a specialized orchid seed-sowing medium, often a nutrient-rich agar-agar gel. This provides the seeds with necessary moisture and nutrients while allowing for easy observation.

Step 3: Sowing and Patience

Carefully sprinkle the sterilized seeds onto the surface of the prepared medium, taking care not to overcrowd them. Seal the flask tightly to maintain the humid environment crucial for germination.

Now comes the hard part—waiting. Orchid seed germination can take weeks, months, or even years, depending on the species and growing conditions. During this time, provide bright, indirect light and maintain a consistent temperature around 70-75°F (21-24°C).

Step 4: From Protocorms to Plantlets

As the seeds germinate, you’ll observe tiny green spheres called protocorms forming on the surface of the medium. These protocorms will eventually develop leaves and roots, transforming into recognizable orchid plantlets.

Step 5: Acclimatization and Beyond

Once the plantlets are large enough to handle, acclimatizing them to life outside the flask is the final step. This gradual process involves slowly introducing them to lower humidity levels and preparing them for life in a pot.

The Reward of Patience

Propagating Aa colombiana from seed is not for the faint of heart. It requires patience, meticulous care, and a touch of luck. However, the reward of seeing these tiny seeds transform into blooming beauties makes the journey well worth the effort. So why not embrace the challenge and try your hand at propagating the captivating Aa colombiana orchid? You might be surprised by the magic that unfolds.