Unleash the Power of Agrimony: Propagating Agrimonia pilosa for a Thriving Garden
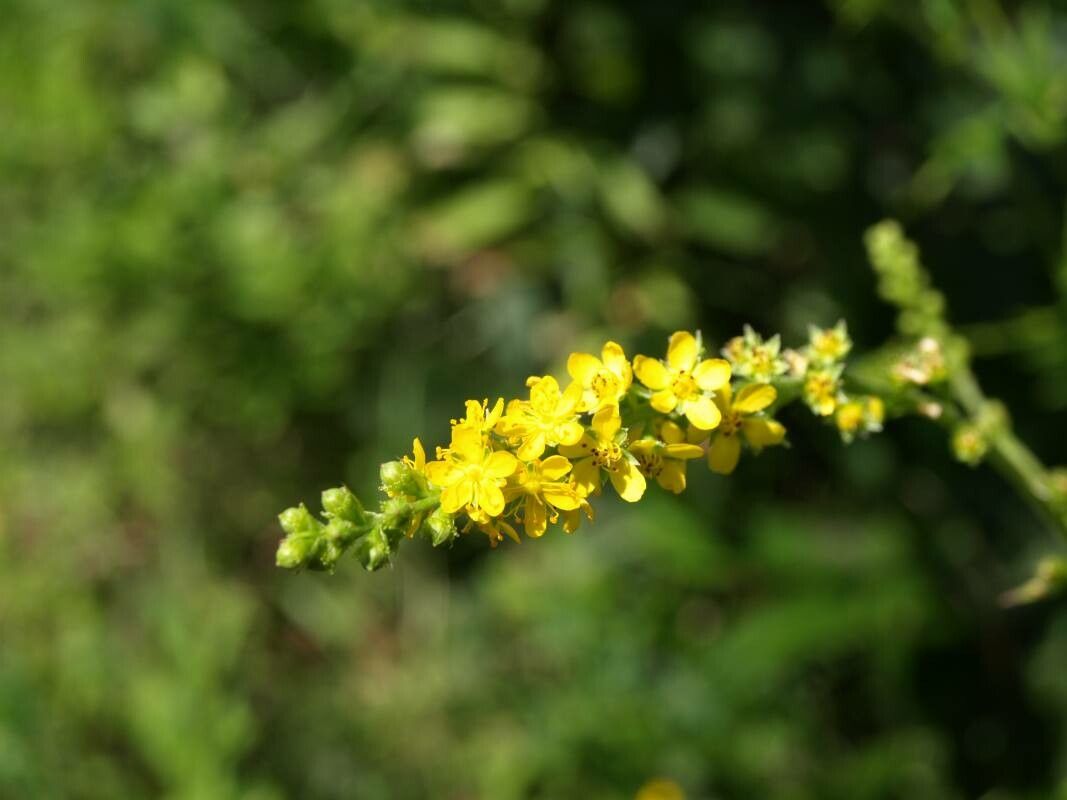
Agrimonia pilosa, commonly known as Agrimony or Hairy Agrimony, is an unassuming powerhouse. This herbaceous perennial boasts delicate, yellow flowers, fern-like foliage, and a rich history of medicinal use. But did you know that this beneficial plant is also surprisingly easy to propagate? Whether you’re a seasoned gardener or just starting out, inviting Agrimonia pilosa into your garden is a rewarding experience. Let’s explore the different methods of propagation:
1. Seed Propagation: Embracing the Cycle of Life
Starting Agrimonia pilosa from seed offers a fulfilling journey from tiny speck to flourishing plant. Here’s how:
- Seed Collection: As summer wanes and the flowers fade, keep a watchful eye out for the distinctive burr-like seed heads. Once they turn brown and dry, carefully collect them.
- Cold Stratification: Agrimonia pilosa seeds benefit from a period of cold stratification, mimicking natural winter conditions. Place the seeds in a moistened paper towel, seal them in a plastic bag, and store them in your refrigerator for 4-6 weeks.
- Sowing the Seeds: In early spring, prepare a seed tray or pot with well-draining seed-starting mix. Sprinkle your stratified seeds on the surface and lightly press them down.
- Patience is Key: Keep the soil consistently moist but not waterlogged, and ensure the seedlings receive bright, indirect light. Germination can take anywhere from 2 to 8 weeks.
- Transplantation Time: Once the seedlings develop a few sets of true leaves and are strong enough to handle, transplant them into individual pots or directly into your garden after the last frost.
2. Division: Multiplying Your Bounty
For a head start on established plants, division is a reliable method, best undertaken in early spring or fall:
- Gentle Upheaval: Carefully dig around the base of a mature Agrimonia pilosa plant, ensuring you lift a good portion of the root system.
- Separation Anxiety: Gently loosen the soil around the roots and carefully tease apart the plant into smaller sections. Each division should have a healthy clump of roots and shoots.
- New Beginnings: Replant the divisions at the same depth they were originally growing, water thoroughly, and watch them thrive.
3. Root Cuttings: Tapping into Hidden Potential
While slightly more advanced, propagating Agrimonia pilosa from root cuttings offers yet another fascinating method:
- Timing is Everything: Late fall or early spring is the ideal time to take root cuttings when the plant is dormant.
- Unearthing the Treasure: Choose healthy roots that are pencil-thick or larger. Using a sharp, clean knife or pruning shears, cut sections of root approximately 2-3 inches long.
- Callusing Over: Allow the cut ends of the root sections to dry and callus over for a day or two. This helps prevent rot.
- Vertical Planting: Plant the root cuttings vertically in a pot filled with a well-draining mix, ensuring the top of the cutting is just below the soil surface.
- Warmth and Moisture: Keep the pot in a warm location with bright, indirect light. Maintain consistent moisture but avoid overwatering.
A Final Note: No matter your chosen propagation method, providing your Agrimonia pilosa with well-drained soil, partial shade to full sun, and regular watering will ensure its success.
Embrace the joy of propagation and invite the remarkable Agrimonia pilosa into your own backyard haven.