Unleashing the Crimson Tide: Propagating Amaranthus powellii for a Showstopping Garden
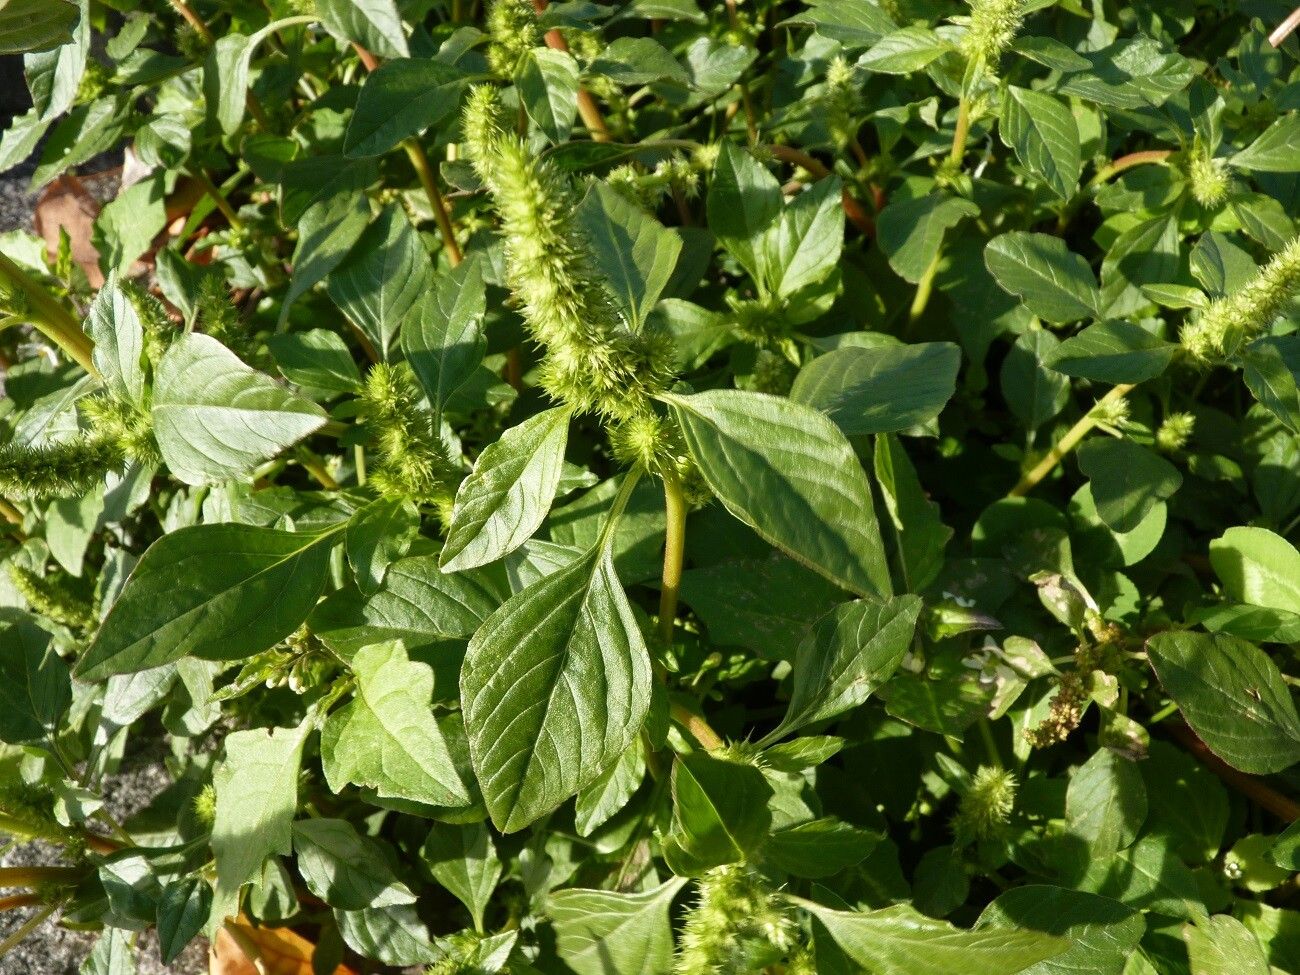
Amaranthus powellii, with its fiery plumes of crimson flowers, is a statement piece in any garden. Also known as Powell’s amaranth, this easy-to-grow annual offers a dramatic splash of color from mid-summer until frost. Whether you’re looking to start your own vibrant display or want to share the beauty with friends, propagating Amaranthus powellii is surprisingly simple. This guide will walk you through the process, empowering you to create a crimson tide of your own.
Two Paths to Propagation:
While Amaranthus powellii is typically grown as an annual, you have two options for propagation: seeds and cuttings.
1. Seeding Your Success:
Starting Amaranthus powellii from seed is the most common and rewarding method. Here’s how to do it:
- Timing is Everything: In most regions, it’s best to start seeds indoors 6-8 weeks before the last expected frost. If you live in a warm climate with a long growing season, you can direct sow seeds outdoors after the danger of frost has passed.
- Sowing the Seeds: Use a seed-starting mix and lightly press the tiny seeds into the surface. They need light to germinate, so avoid burying them deeply.
- Warmth and Moisture: Ensure the soil remains consistently moist and provide warmth with a heating mat or a sunny windowsill. Seeds usually germinate within 7-14 days.
- Thinning the Herd: Once seedlings develop a few sets of true leaves, thin them out to provide adequate spacing for growth.
- Hardening Off: Before transplanting outdoors, gradually acclimate your seedlings to outdoor conditions by exposing them to increasing amounts of sunlight and wind for a week or two.
- Transplanting: When the seedlings are sturdy and the weather is consistently warm, transplant them into your garden with a spacing of 12-18 inches apart.
2. Cuttings: Cloning Your Crimson Beauties (Advanced):
While less common, propagation through cuttings is possible with Amaranthus powellii and allows you to create clones of specific plants:
- Selecting Cuttings: In the early morning, take 4-6 inch cuttings from healthy, non-flowering stems.
- Preparing the Cuttings: Remove the lower leaves to expose the nodes (where roots will emerge) and dip the cut end in rooting hormone (optional, but recommended).
- Planting: Insert the cuttings into a well-draining potting mix, burying at least one node.
- Humidity is Key: Cover the pot with a plastic bag to create a humid environment. Ensure the soil remains moist but not waterlogged.
- Root Development: Roots typically develop within a few weeks. You can test for rooting by gently tugging the cutting – resistance indicates roots have formed.
- Transplanting: Once roots are established, harden off the cuttings before transplanting them outdoors.
Caring for Your Crimson Creations:
Amaranthus powellii enjoys full sun (at least 6 hours daily) and well-drained soil. Water regularly, especially during dry spells, but avoid overwatering. Deadheading spent blooms will encourage a bushier habit and prolong the flowering period.
A Bountiful Display:
By following these propagation techniques, you can easily multiply your Amaranthus powellii, filling your garden with fiery plumes of crimson and enjoying their vibrant beauty for years to come. Do share your success stories and any tips you discover along the way!