Unveiling the Secrets of Amelanchier Interior Propagation: A Guide to Growing Your Own Serviceberry
The Amelanchier interior, also known as the Inland Serviceberry, is a delightful shrub celebrated for its stunning spring blossoms, vibrant fall foliage, and delicious berry bounty. This North American native not only enhances your landscape’s beauty but also attracts beneficial pollinators.
If you’re smitten by the Amelanchier interior and dream of having more grace your garden, you’re in luck! Propagating this resilient shrub is an achievable feat, even for beginners. Let’s explore the different methods you can employ to grow your own Inland Serviceberry haven:
1. Seed Propagation: A Test of Patience and Timing
While possible, propagating Amelanchier interior from seed requires a bit of finesse and a longer timeline. Here’s how you can do it:
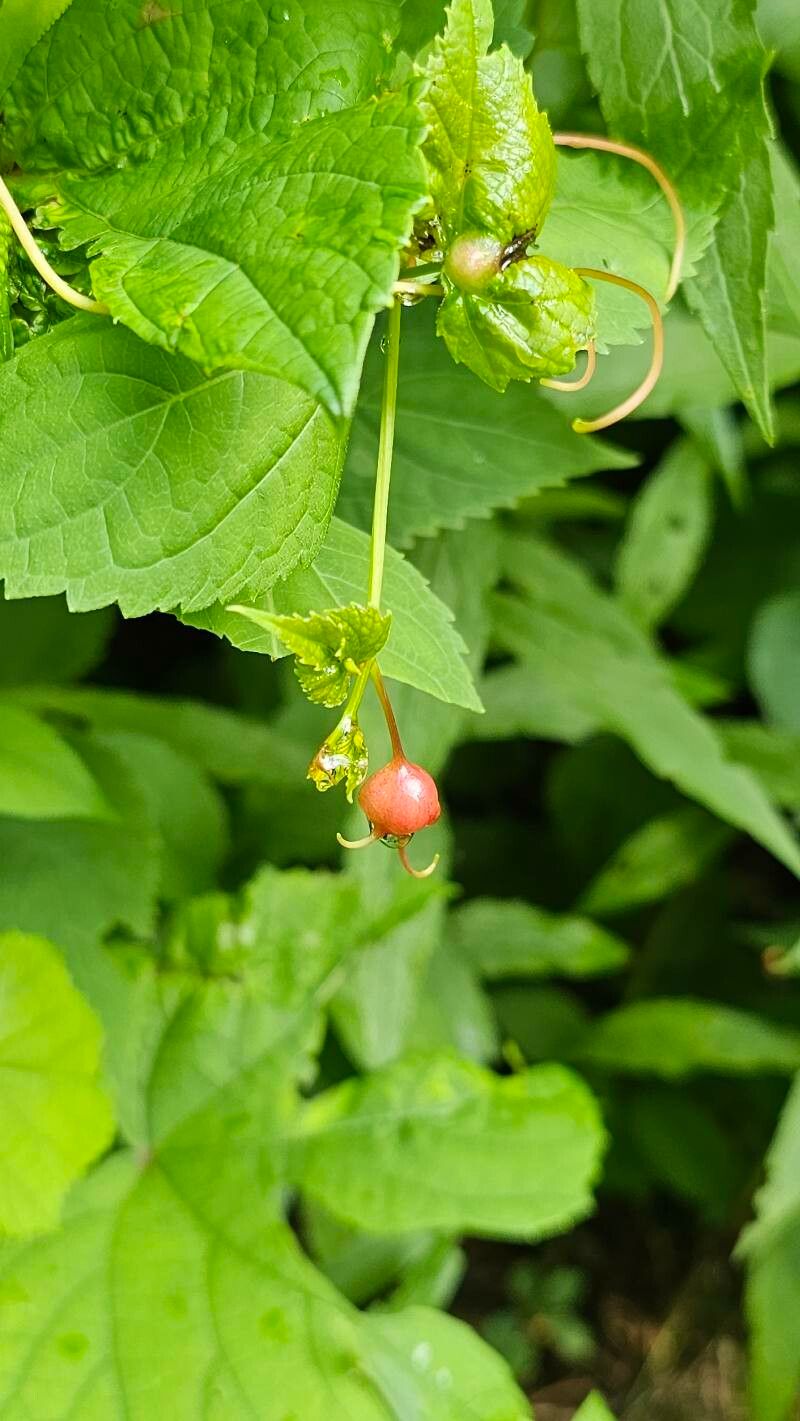
- Harvest ripe berries in early summer: Look for plump, dark purplish-blue berries.
- Clean the seeds: Gently crush the berries and rinse away the pulp, leaving the small, brown seeds behind.
- Cold stratification is key: These seeds need a period of cold dormancy. Mix them with damp sand or peat moss, store in a sealed bag, and place them in the refrigerator (around 40°F) for at least 90 days.
- Springtime sowing: Once the last frost has passed, sow the seeds in a seed tray filled with a well-draining seed starting mix. Cover them lightly with soil and keep them consistently moist.
- Patience is a virtue: Germination can be erratic, with some seeds sprouting within weeks and others taking months.
2. Taking Cuttings: A Faster Route to Success
Propagating Amelanchier interior from cuttings is a quicker and more reliable method:
- Choose the right time: Early summer, when new growth is semi-hardwood, is ideal for taking cuttings.
- Select healthy stems: Look for stems that are about 4-6 inches long and free of diseases or pests.
- Prepare the cuttings: Using a sharp, sterilized knife or pruning shears, make a clean cut just below a leaf node. Remove the leaves from the bottom third of the cutting.
- Hormone boost: Dip the cut end in rooting hormone powder to encourage root development.
- Plant in a suitable medium: Fill pots with a well-draining mix of peat moss and perlite. Make a small hole in the center and gently insert the cutting, ensuring at least two nodes are beneath the soil line.
- Keep humidity high: Cover the pots with a plastic bag or humidity dome to create a warm, moist environment.
- Root development: Within 4-8 weeks, the cuttings should develop roots. You can test for root development by gently tugging on the cutting – resistance indicates roots are forming.
3. Transplanting Your Success
Once your seedlings or rooted cuttings have developed a robust root system and are large enough to handle, you can transplant them into larger pots or directly into your garden.
Tips for Success:
- Well-draining soil: Amelanchier interior thrives in well-drained soil with a slightly acidic to neutral pH.
- Sun or partial shade: While they prefer full sun, these adaptable shrubs can tolerate partial shade, making them versatile additions to your landscape.
- Regular watering: Water deeply and regularly, especially during the first year after planting. However, avoid overwatering, as this can lead to root rot.
Propagating your own Amelanchier interior is a rewarding experience that allows you to create more of these beautiful and beneficial shrubs. With a bit of patience and the right techniques, you’ll be enjoying the fruits (and flowers!) of your labor for years to come.