Unleashing the Power of Propagation: How to Multiply Your Drosera Pallida
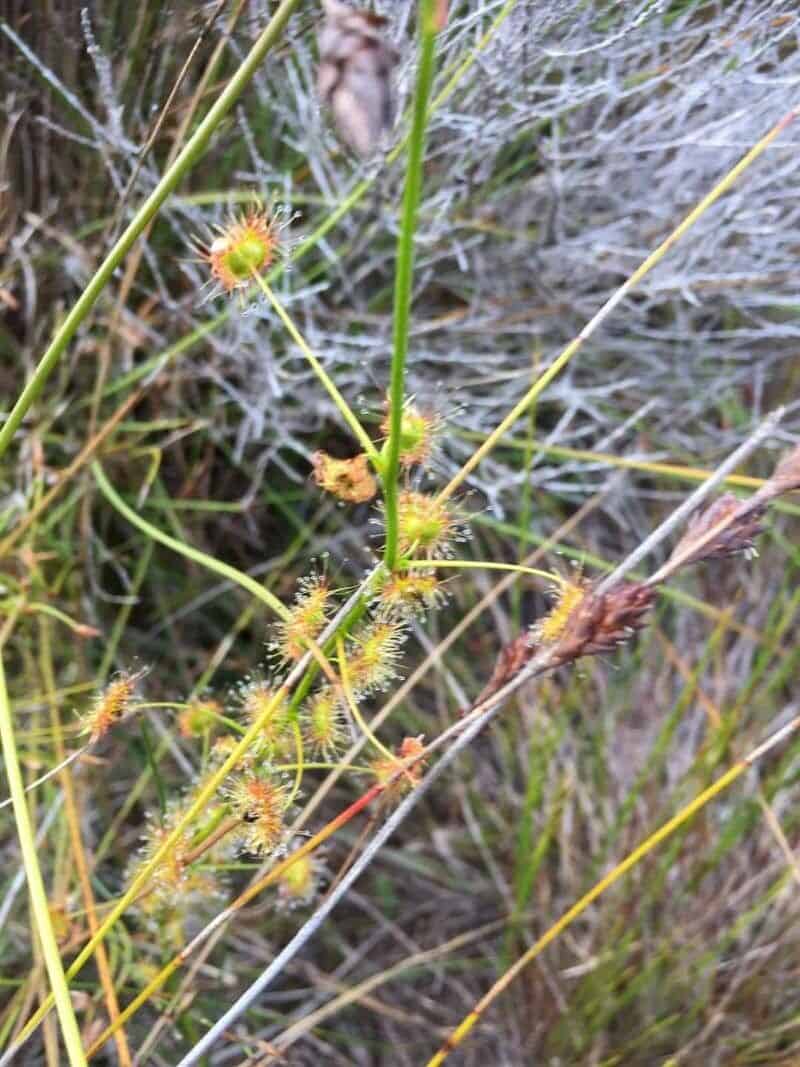
The Drosera pallida, also known as the Pale Sundew, is a captivating carnivorous plant that enchants with its glistening, dewy tentacles and deadly allure. If, like many enthusiasts, you find yourself captivated by this botanical marvel and yearn for more, you’re in luck! Propagating Drosera pallida is a rewarding endeavor that’s easier than you might think. This comprehensive guide will equip you with the knowledge to multiply your collection and witness the miracle of new life unfold.
The Many Paths to Propagation
One of the most remarkable aspects of Drosera pallida is its versatility in propagation. Here are the most common methods:
1. Seed Propagation:
Starting Drosera pallida from seeds offers a fulfilling experience, albeit slightly more time-consuming.
- Obtaining Seeds: The first step is acquiring seeds, either from a reputable supplier or your own plants, once they flower and produce seed pods.
- Sowing the Seeds: Sow the tiny, dust-like seeds directly onto the surface of a moist, nutrient-poor medium like a 1:1 peat moss and perlite mix.
- Providing Optimal Conditions: Ensure bright, indirect light and maintain humidity by covering the pot with a clear plastic bag or dome.
- Germination: Be patient! Germination can take anywhere from a few weeks to a couple of months.
2. Leaf Cuttings:
Leaf cuttings are a surprisingly effective and relatively quick method for propagating Drosera pallida.
- Taking the Cuttings: Select healthy, mature leaves and using a sharp, sterile blade, cut the leaf as close to the base as possible.
- Preparing the Medium: Just like with seeds, use a well-draining, nutrient-poor mixture.
- Placing the Cuttings: Lay the leaf cuttings flat on the surface of the medium, ensuring good contact. You can gently press them down but avoid burying them.
- Care and Patience: Keep the medium consistently moist and provide bright, indirect light. In a few weeks, you should begin to see tiny plantlets emerging from the cut leaf!
3. Root Cuttings:
For mature Drosera pallida with well-established root systems, root cuttings offer another successful propagation technique.
- Taking Root Cuttings: Carefully remove the plant from its pot and locate healthy, white roots. Cut sections of root, about 1-2 inches long.
- Planting the Cuttings: Lay the root cuttings horizontally on the surface of your chosen medium, lightly pressing them down.
- Maintaining Ideal Conditions: As with other methods, consistent moisture, bright, indirect light, and humidity are crucial for success. Within a few weeks, you should observe new growth emerging from the root cuttings.
Tips for Propagation Success:
- Cleanliness is Key: Sterilize all your tools and pots before use to prevent fungal or bacterial contamination.
- Water Wisely: Use distilled water or rainwater to avoid mineral buildup in the soil, which can be detrimental to Drosera pallida’s sensitive root system.
- Embrace Patience: Propagation takes time, so don’t be disheartened if you don’t see results immediately. Be patient and continue to provide the optimal environment, and you’ll be rewarded with new plantlets.
Propagating Drosera pallida is a gratifying journey that allows you to witness the incredible regenerative abilities of this captivating carnivore. With a little patience and care, you can cultivate a thriving colony of these fascinating plants, and share the joy of their unique beauty with others. So, go ahead and unleash your inner plant parent—propagate your Drosera pallida and marvel at the wonders of nature!