Taming the Sea Holly: A Guide to Propagating Eryngium paniculatum
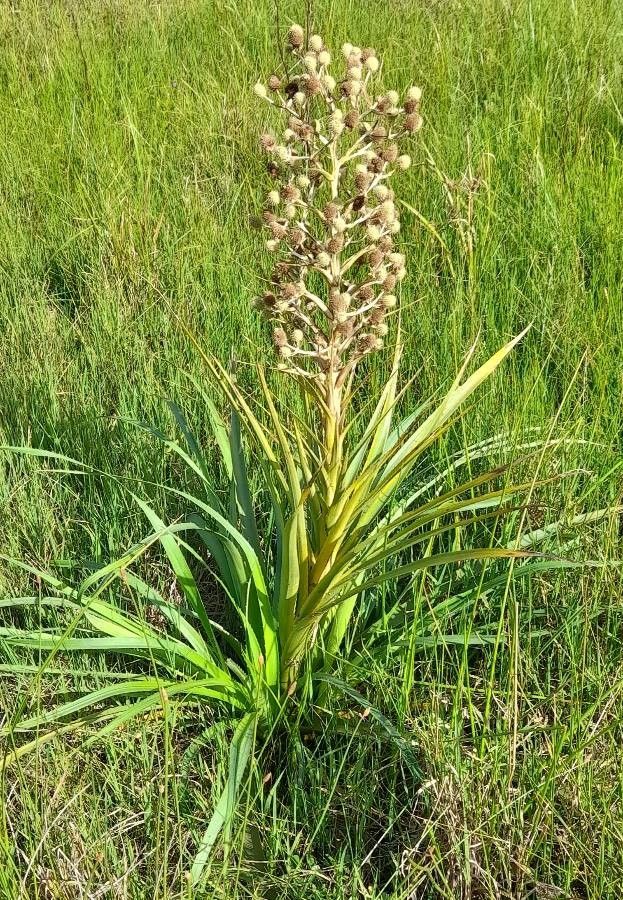
Eryngium paniculatum, commonly known as Sea Holly, is a captivating plant with steely blue stems and cone-like flower heads surrounded by spiky bracts. Native to South America, this architectural wonder brings a touch of the coast to any garden with its unique appearance and drought-tolerant nature. While relatively low-maintenance, propagating Eryngium paniculatum requires a touch of patience and the right techniques. If you’re ready to welcome more of these spiky beauties into your garden, read on!
Propagation by Seed: A Test of Time and Patience
Eryngium paniculatum can be propagated by seed, but be warned, it’s a slow process requiring patience and a touch of luck.
Here’s how to do it:
- Seed Collection: Harvest mature seed heads in the fall and allow them to dry thoroughly in a paper bag. Once dry, shake the bag to release the seeds.
- Cold Stratification: Mimic nature’s cycle by subjecting the seeds to cold temperatures. Place them in a sealed bag with slightly damp vermiculite or sand and store them in the refrigerator for 4-6 weeks.
- Sowing: In early spring, sow the seeds in seed trays filled with a well-draining seed compost. Sprinkle a thin layer of compost over them, and mist with water.
- Patience is Key: Germination can take anywhere from a few weeks to a few months. Keep the soil consistently moist but not waterlogged and maintain a warm temperature.
Pro Tip: Scarifying the seeds – gently rubbing them with sandpaper – can help break their dormancy and improve germination rates.
Division: Sharing the Spiky Love
For a quicker and more reliable method, division is the way to go. While Eryngiums don’t particularly enjoy having their roots disturbed, dividing established plants every few years can rejuvenate them and provide you with new specimens.
The best time for division is early spring before new growth emerges:
- Careful Extraction: Carefully dig up the clump, ensuring you dig a wide circle to avoid damaging the roots.
- Sharp Division: Using a sharp, clean knife or garden spade, divide the clump into smaller sections, ensuring each section has a good amount of roots and shoots.
- Replanting: Replant the divisions at the same depth as the original plant, spacing them about 18-24 inches apart. Water them well and keep the soil consistently moist until they establish.
Caring for Your New Spiky Companions
Eryngium paniculatum thrives in full sun and well-drained soil. Once established, they are relatively drought-tolerant but appreciate regular watering during prolonged dry spells. To maintain their architectural form, deadhead spent flower stalks to encourage new growth. Avoid excessive fertilization, as it can lead to weak stems.
By mastering these propagation methods, you can enjoy the unique beauty of Eryngium paniculatum for years to come, adding a touch of coastal charm and architectural interest to your garden landscape.