
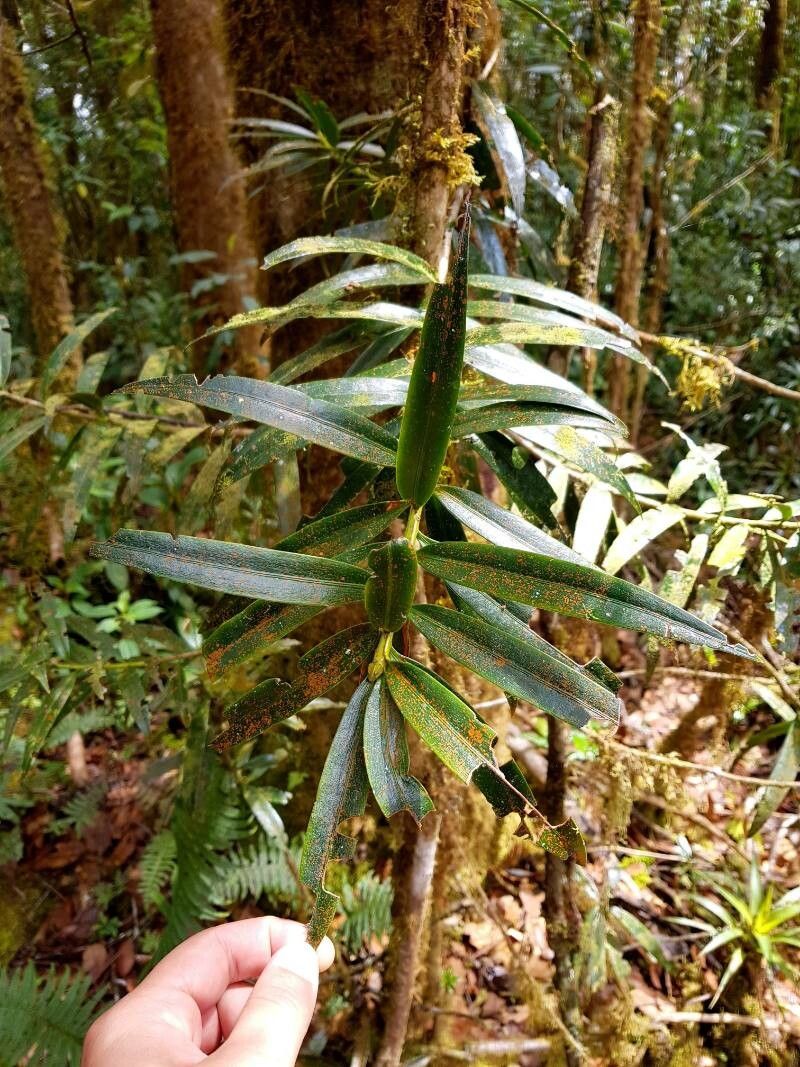
From One to Many: Propagating Your Own Podocarpus oleifolius (and Why You Should!)
The Podocarpus oleifolius, often called the ‘Podocarpus’ or ‘Buddhist Pine’, is a popular choice for adding lush greenery to gardens and landscapes. Its attractive, dark green foliage and elegant, upright form make it a favorite for hedges, topiaries, or simply as a striking specimen plant. But did you know that you can easily increase your Podocarpus collection by propagating new plants from cuttings?
This blog post will walk you through the simple process of propagating your own Podocarpus oleifolius, allowing you to enjoy the beauty of this versatile plant without breaking the bank.
Why Propagate Podocarpus oleifolius?
There are several reasons why propagation is a great option for Podocarpus oleifolius enthusiasts:
- Cost-effective: Purchasing new plants can be expensive, but propagation allows you to create your own plant army for a fraction of the cost.
- Control over genetics: When you propagate, you know exactly what the resulting plant will look like. You’ll be able to maintain the specific features and characteristics of your parent plant.
Enjoy the process: Propagation is a rewarding experience, offering a connection to nature and a sense of accomplishment.
Propagating Your Podocarpus: A Step-by-Step Guide
Timing is Key: The best time to take cuttings for propagation is during the spring or early summer when the plant is actively growing.
Collecting Cuttings:
- Select healthy, non-flowering stems: Look for a healthy, vigorous stem with new growth, ideally about 6-8 inches long.
- Make a clean cut below a node: A node is the point on the stem where leaves or branches grow. Using a sharp knife or pruning shears, make a clean cut just below a node at a 45-degree angle.
- Remove lower leaves: Carefully remove the lower leaves on the cutting, leaving only the top two or three sets of leaves.
Rooting Your Cuttings:
- Prepare your rooting medium: A mixture of equal parts peat moss and perlite or vermiculite works well. Fill a pot or tray with this mix and dampen it thoroughly.
- Dip the cuttings in rooting hormone: This step is optional, but rooting hormone can significantly increase the success rate of rooting. Dip the cut end of the stem in the rooting hormone powder.
- Plant the cuttings: Gently insert the cut end of the stem into the rooting medium, making sure the lower leaves remain above the soil surface.
- Water thoroughly: Water the cuttings well, allowing the water to drain through the drainage holes.
Maintaining Your Cuttings:
- Keep the cuttings moist: Moist but well-drained soil is crucial for successful rooting. Water regularly, ensuring the rooting medium remains consistently moist, but not soggy.
- Provide bright, indirect light: Avoid direct sunlight, as it can dry out the cuttings. Place the cuttings in a location with bright, indirect light.
- Maintain humidity: Humidity is beneficial for rooting, so consider using a humid dome or placing the cuttings in a clear plastic bag.
Be patient: It can take several weeks or even months for cuttings to root. Don’t be discouraged if you don’t see results immediately.
From Cuttings to Full-Grown Plants:
Once the cuttings have rooted, they can be potted up into individual containers filled with a well-draining potting mix. Continue to water them regularly and provide them with bright, indirect light.
With careful care, your propagated Podocarpus oleifolius cuttings will eventually develop into beautiful, healthy plants, offering a long-lasting and rewarding addition to your garden or home.
By following this simple guide, you can easily propagate your own Podocarpus oleifolius and enjoy the satisfaction of creating new life for a fraction of the cost. This rewarding experience will allow you to appreciate the beauty and elegance of this stunning plant while adding a personal touch to your green space. Happy propagating!